
Everyone’s got one – an eye sore. And no, not on your actual eye – we’re referring to that ugly collection of ducks you have in your front yard, or the hideous paint peeling furniture set that needs to be buried. Those are pretty extreme cases, but if you’ve got something in your yard that needs a overhaul, why not try simply spray painting it to add a little bit of new life to it?
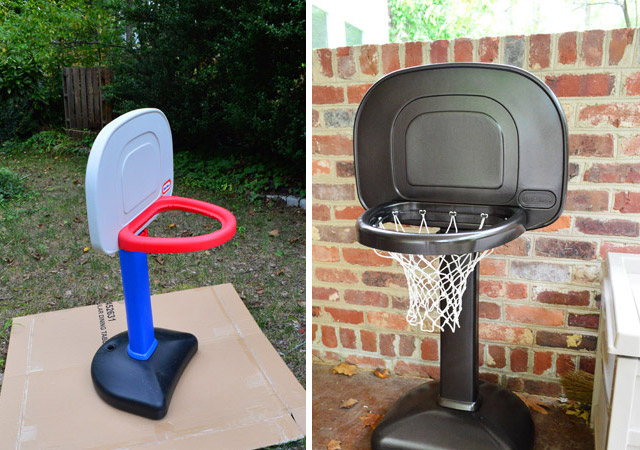
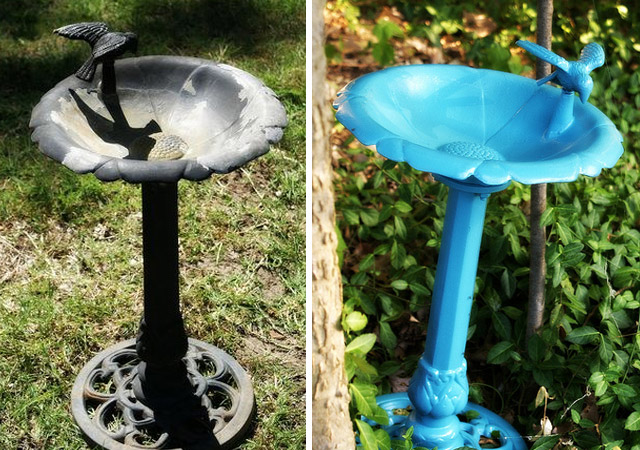
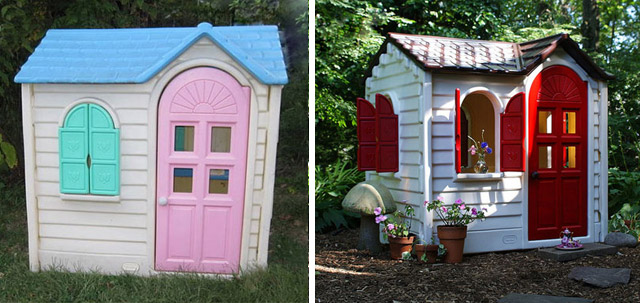
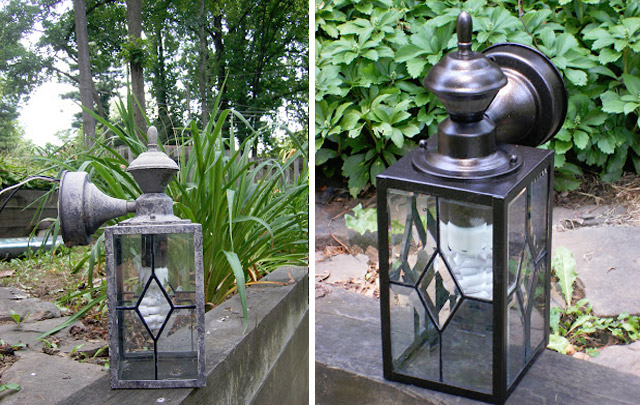
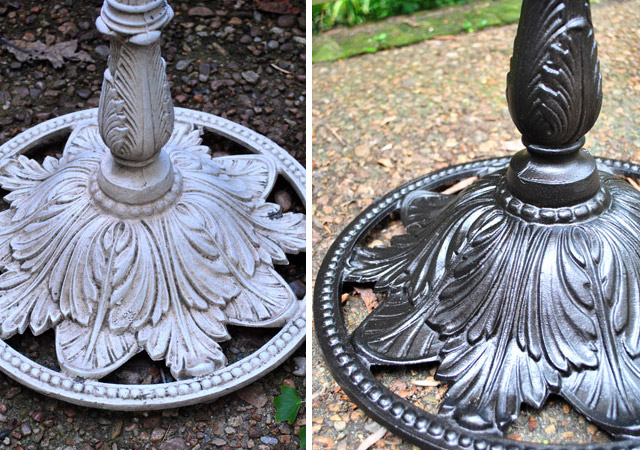
Here are some examples of how just a little spray paint goes a long way – and it’s cheap!
So now that you’re convinced, here is what you’ll need: spray paint, a primer if you want extra coverage or you think the paint won’t stick to the surface (some spray paint has a primer already in it), and newspaper or cardboard to protect the ground. (Oh, and a beautiful day also helps!)
Spray paint sticks to most surfaces, but if you fear your object is in need of a good sanding or needs smoothing out, you may want to sand the piece. Then wipe everything down to remove any remaining dust or dirt. Next, add primer if you think your object needs it. Get your object out in the yard and situate it on the ground on top of newspaper or cardboard and get spraying! It’s best to give the object, multiple, very thin coats versus one single heavy coat. What’s also great about spray paint is that it dries very fast, meaning you won’t have to wait too long to begin another coat. You may also want to avoid a windy day outside in case you get dust/debris landing on your object drying within the spray paint.
Let your object dry completely (follow on-can instructions) and presto, done! Say so long to that eye sore!
Happy weekend!