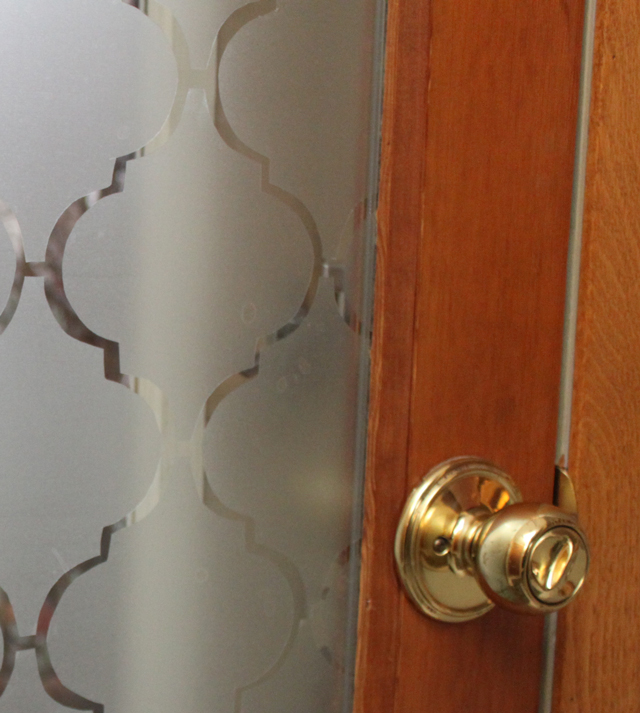
Have you watched a scary movie or tv show lately? You know, the kind that makes you have that creepy un-easy feeling that someone is just outside your home, staring into your living room while you go about your life? Or it makes you second guess every action you do in fear of the neighbors thinking you’re crazy? And now with the sun rising later and setting earlier, it seems as though it is always dark when you are at home – dark before you leave for work, dark when you get home – you have the urge to add some extra added privacy to your windows…blinds, curtains or the like. And you better do it FAST, before they get you! ;)
While blinds and curtains work well for windows throughout your home, putting blinds on your front door can seem a bit gaudy or just not as classy as you’d like. We have the perfect DIY idea that quickly transforms the “dark unknown” into a graphical focus in your entryway! This DIY comes from one of our team members who wanted to add some privacy to her front door after removing some blinds that once filled the window on the door.
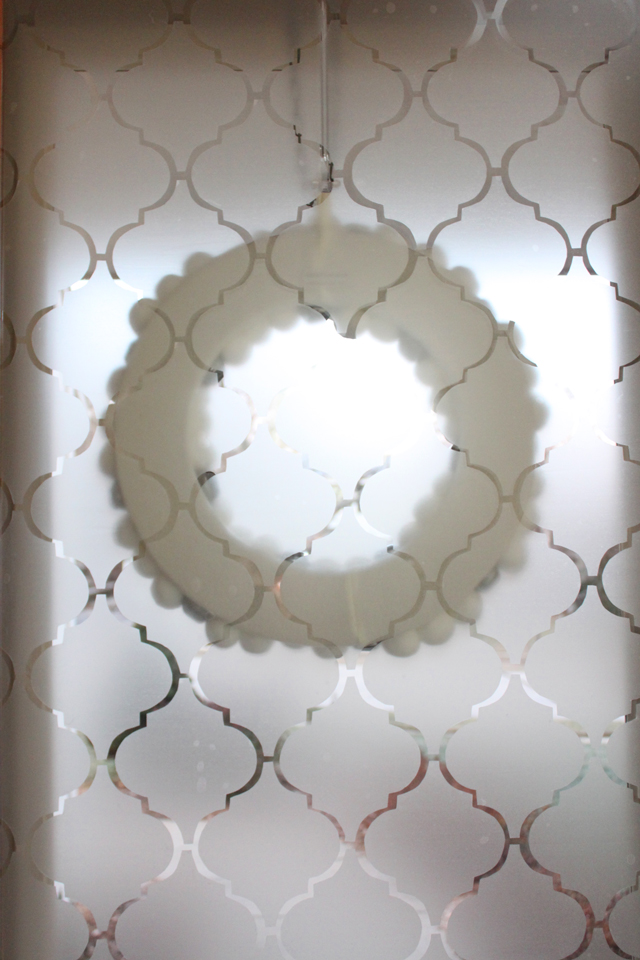
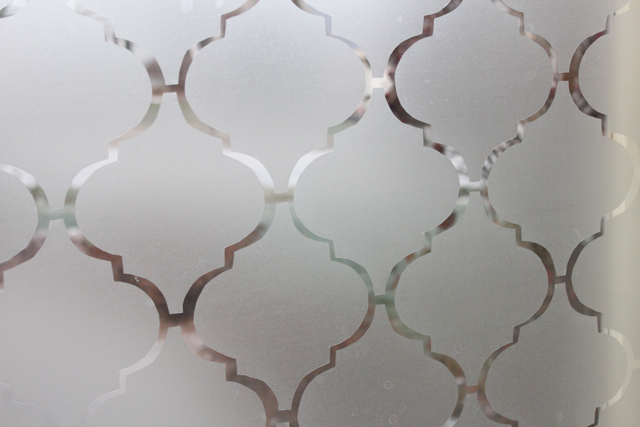
She got the window idea from the blog, 7th House on the Left, who even provides a handy template for the cut-out shape, to help your cutting go easier and faster. Also, by reading the comments on the blog, you’ll learn a lot of bonus tips. The blogger transformed her front door (with half a window) by applying contact paper in a unique Moroccan shape to the window to give it a faux-etched look.
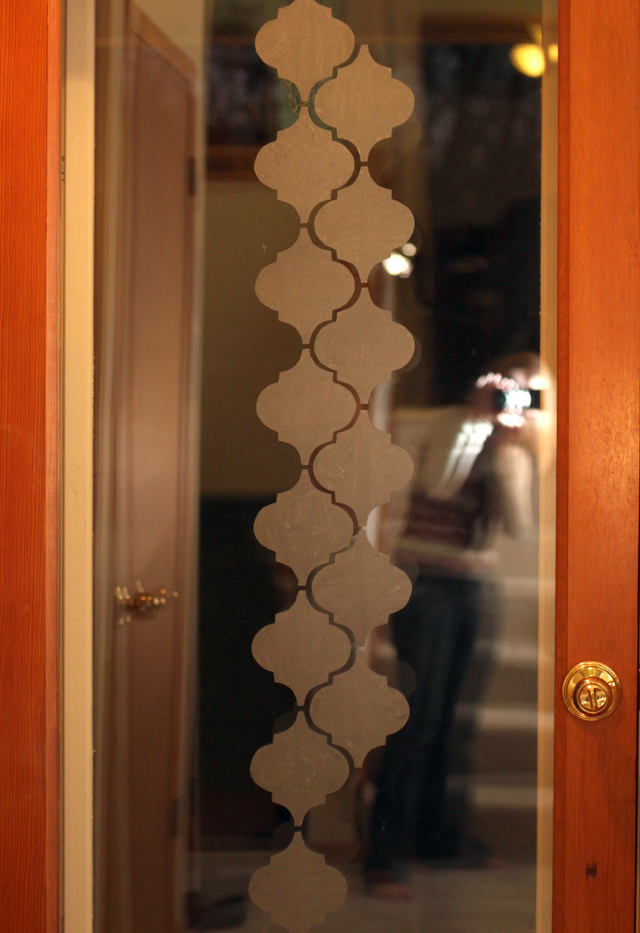
Our team member, Vanessa, tried this same effect, applying it to her completely glass front door. Check out the finished look below – talk about a unique entryway that provides privacy but still allows a lot of light in! Here are her summarized instructions, but you can feel free to also head to the 7th House on the Left blog for more information!
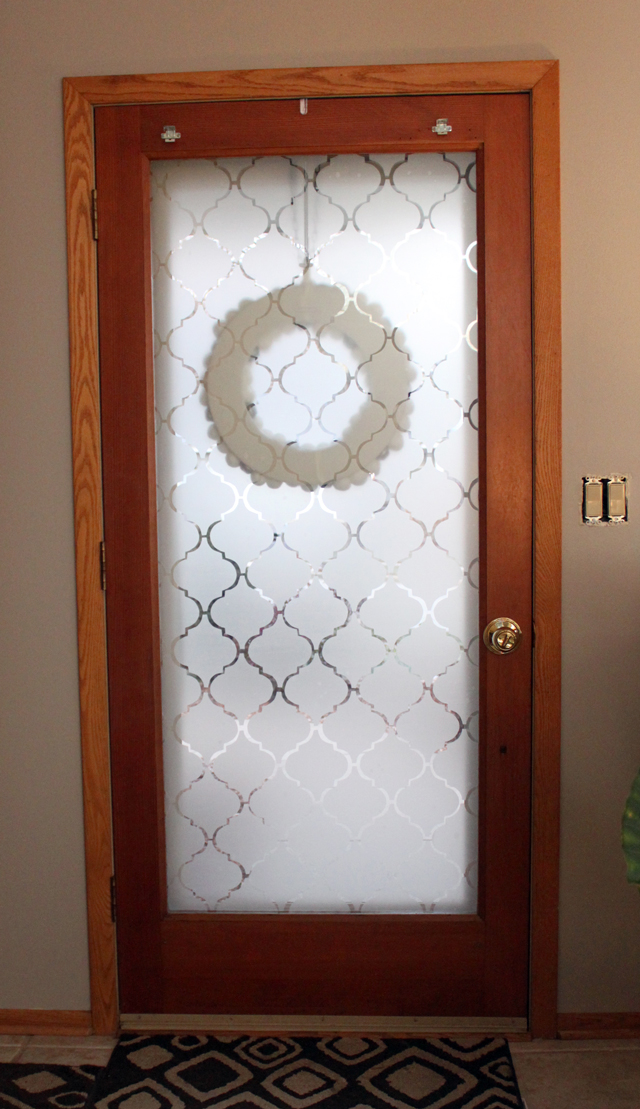
What you’ll need: 1 roll of contact paper (find at any big box store), template provided, cardboard or cereal box, black marker, scissors, tape measure, exacto knife/utility knife and a dry erase marker.
1. Print out the template provided by 7th House on the Left blog.
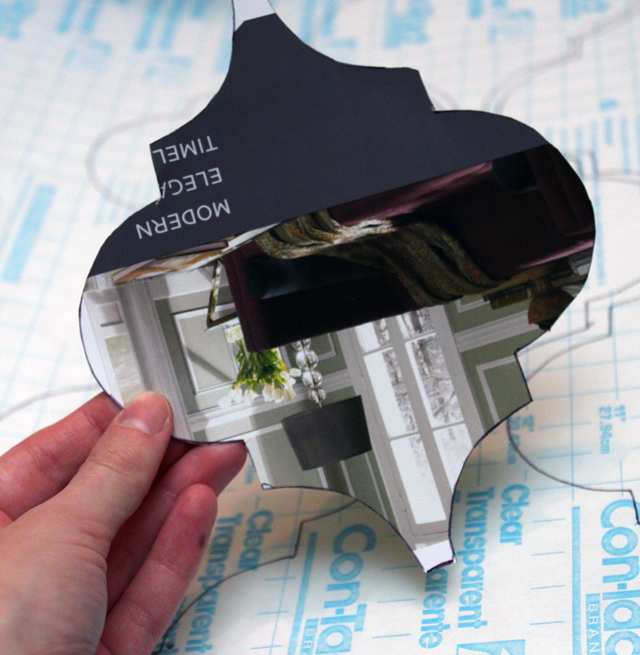
2. Cut out the shape and transfer it to a thicker paper, such as a cereal box or other piece of cardboard.
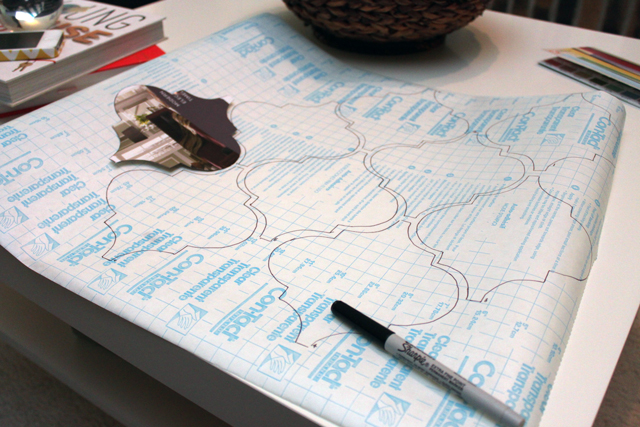
3. Trace out as many shapes as your heart desires onto the back (or paper) side of the contact paper. Our team member found that drawing 8 of the shape, and then cutting out those provided the easiest route. Since the paper has been rolled up, it tends to want to keep rolling, so only having 8 keeps it much more manageable.
4. Once you have a decent amount cut out, you’ll need to measure your space and gauge how many more you’ll be needing.
5. The first time Vanessa counted how many she’d need, she was way off – you’ll soon see how many more you need and how you can use bits and pieces of them to fit around the edges.
6. Measure your window and mark the exact middle (vertically and horizontally) with a dry erase marker on the opposite side of window.
7. Start your first shape in the exact center and then apply the first column going up and down. It’s best to do a complete column first, also keeping about 1/2 an inch between the tops and bottoms. This will allow for the best possible spacing throughout your window which helps to keep things consistent.
8. Keep applying more and more until it’s covered. Vanessa found that hers wasn’t perfect due to the fact it’s handmade, each cut being unique. But from a few feet away, she says, you can’t even tell and it just looks AWESOME!
9. Once you’re done, use a credit card to smooth out any tough bubbles that may have formed. Also, use the utility knife to trim the excess from shapes around the edges.
10. Sit back and enjoy (without being terrified of the unknown that lurks outside!)
The best part about this, is that it’s only about $3 to create and it’s removable if you decide later on that you’d like to switch things up! It also adds a very classy touch to your home when viewing it from the outside. Thanks to the 7th House on the Left blog for inspiring us!
Happy Weekend!


