
With Halloween done and over, everyone seems to be in the holiday mood, dreaming of Thanksgiving and Christmas. I’ve heard countless people say how they can’t wait until they can listen to Christmas music, watch their favorite holiday movie, and enjoy a nice holiday latte in their holiday cups at their favorite coffee shops. So, why hold back? Let’s jump on the bandwagon and get into the holiday mood this weekend!
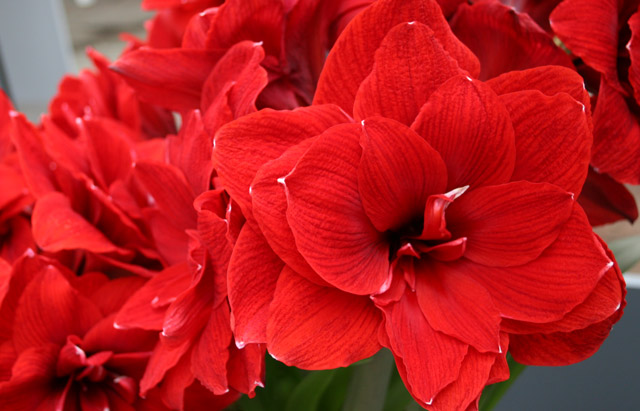
Now is the perfect time to pot an amaryllis bulb and get it growing for blooms in time for the holidays. These gorgeous flowers create the perfect centerpieces for your family get-togethers, and even make great gifts! Not sure what an Amaryllis is? Amaryllis bulbs are one of the best flower bulbs for indoor forcing and are typically used for this purpose. Bulbs typically begin to sprout within two weeks of planting in soil without requiring any pre-chilling. The blooms of these large bulbs range in color from white, pink, red, or orange and resemble multiple trumpets in shape. The blooms typically appear within 4-8 weeks of planting and can adorn your house for as long as four weeks!
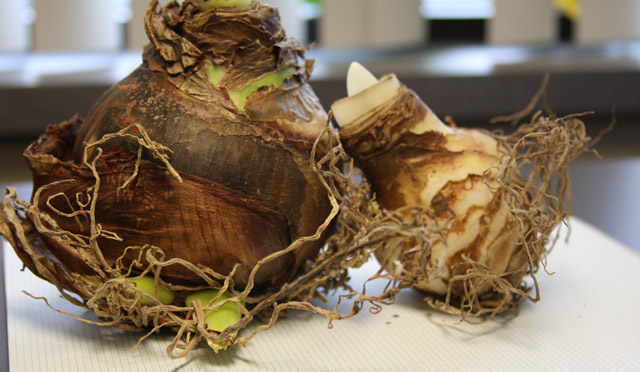
First, you’ll need to pick-up an Amaryllis bulb. Right now you can find them everywhere… online, local retail stores and even at Willard & May. You can buy them just as a bulb and use your own pot and soil, otherwise there are many kits out there that include a nice pot and soil. Always plant your amaryllis within 2 weeks of purchasing them in order to assure quality (not dried out or not mushy). Also, buy the biggest bulb you can find! The bigger the bulb, the bigger and more numerous the blooms! Take a look at this comparison of two different size bulbs:
Here are the details on how to pot them…
- If purchased as part of a kit, place soil disk in the provided pot along with warm water. Allow disk to sit in water for approximately five minutes. The disk will begin to expand as it soaks up the water. As it expands, the soil can be “fluffed” with a fork to fill the pot.
- If no soil disk is provided, simply use a nutrient-rich potting soil in any desired pot which is approximately 2″ wider and 2″ deeper than the diameter of the bulb. Be sure that whichever container is used has adequate drainage as these bulbs do not like to sit wet.
- Plant the bulb so that the pointed end is up and just protruding from the surface of the soil.
- Water well and place in an area of your home which stays warm and receives indirect sunlight.
- Continue to provide water on a weekly basis to keep soil slightly moist but not wet.
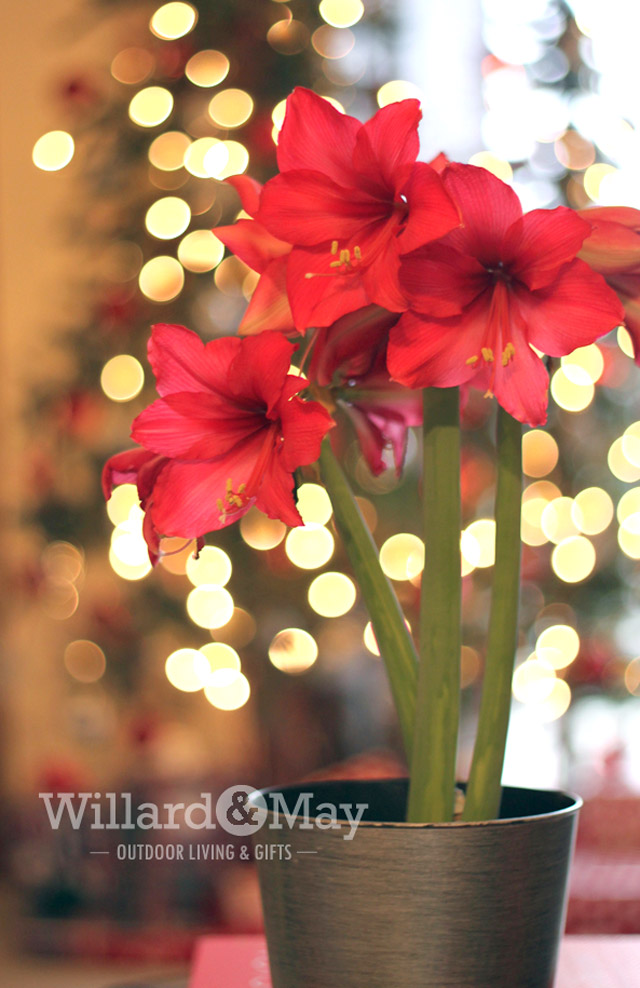
- Set these beautiful blooms out in a spot where everyone can enjoy them – like the counter or an entry way!
Happy Weekend!

I want to buy amaryllis for a gift but the color she wants is fushia to me is bright pink. My sister and law insist that the color is double fushia
We’ll have Amaryllis available for gifts around the Holidays (November and December) – hopefully we’ll have a fushia one for her :)