
Many people don’t want to face reality that it might be time to hang up your grilling tools for the winter. But your grill will appreciate the extra time you spend to prepare it for winter before it’s covered in snow. And come that first semi-warm day your grill will greet you all shiny and new-looking in spring!
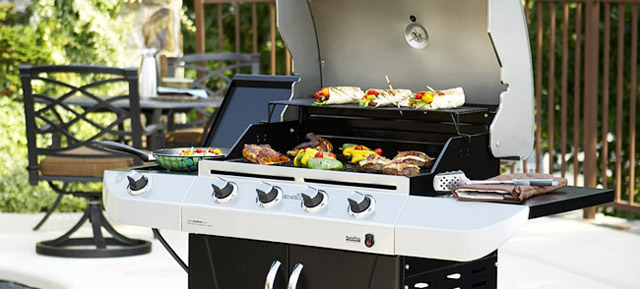
(Image Source: Lowes)
Here is what you’ll need to winterize your grill: cooking oil spray, tape, plastic bags and household cleaning supplies.
1. Cook your final grilling meal (we’re doing shish-ka-bobs this weekend) to mentally prepare yourself!
2. Give your grill a good cleaning using general household cleaners. Make sure you get in all the nooks and tight areas and scrape away food and grease. If you have stubborn stains, try a foaming oven cleaner spray.
3. Shut off the gas (if you use a gas grill). Unscrew the burners and remove the gas tubes from the gas line. Refer to your manual if you are unsure how to do this step. Keep the shut-off propane tank outside (not inside!), you should also cover it. Also, cover the gas opening with a plastic bag.
4. Coat the burners and other metal parts with cooking oil spray to repel moisture, build-up and to help prevent rusting. Cover the burner with a plastic bag to prevent insects from creeping in. That problem can cause uneven flames in the spring.
What if you have a Charcoal Grill? Well, you do almost the same. Follow steps 1 and 2 while also dumping the used charcoal. Grease from food can build-up in the charcoal creating a cement like layer at the bottom of the grill. Overtime it will build up and be less efficient so it is important to clean that out each fall. You also can store your grill in your garage since there is not flammable gas to worry about.
For detailed photo steps of this process, head over to The Family Handyman.
Happy weekend! What are you going to grill?