
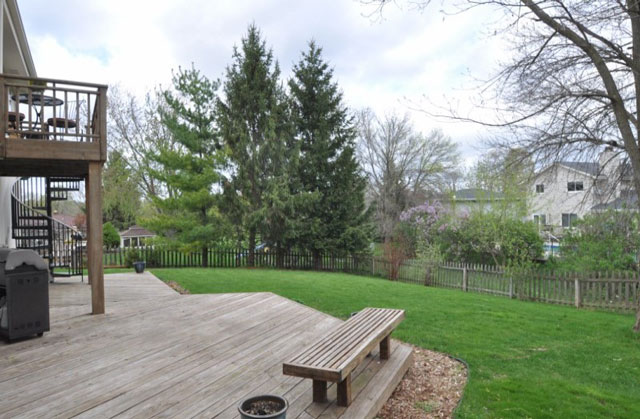
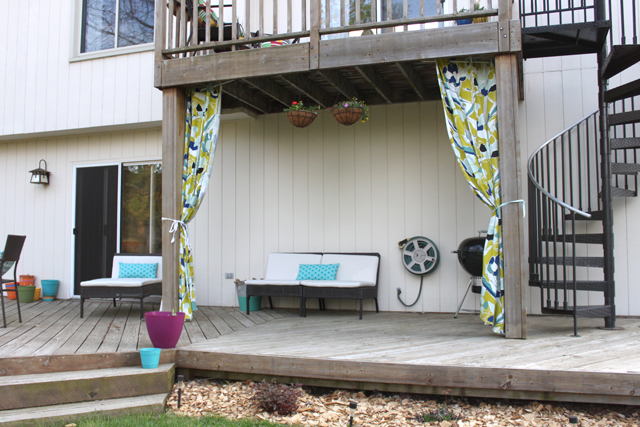
About a year ago we shared a DIY lesson on how to power wash your deck and how to get it looking brand new! We also shared one of our team member’s deck that could have used some TLC and pressure washing magic. Here is the before to remind you and another view of the before once they had their own personal items added to the deck.
Now, we’re back a year later to share how the deck looks after getting power washed and then re-stained following the DIY instructions.
First, came the pressure washing using a borrowed pressure washer from one of their parents. View the behind the scenes instagram of how it went down with a before and after of the power washing step:
Next up was to brush on a a weatherproofing stain, here is the behind the scenes look on that (nevermind the cabinets, they were also renovating their kitchen at the time).
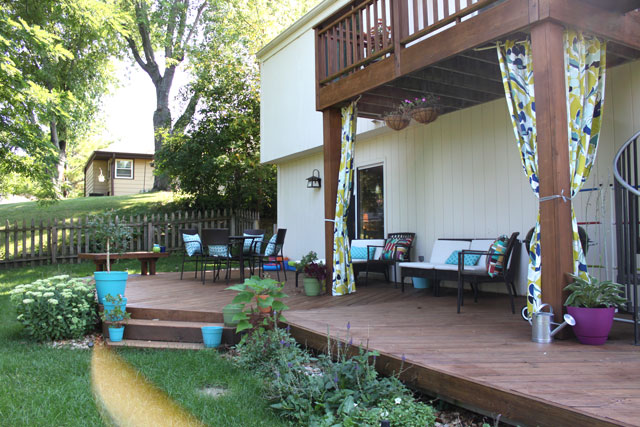
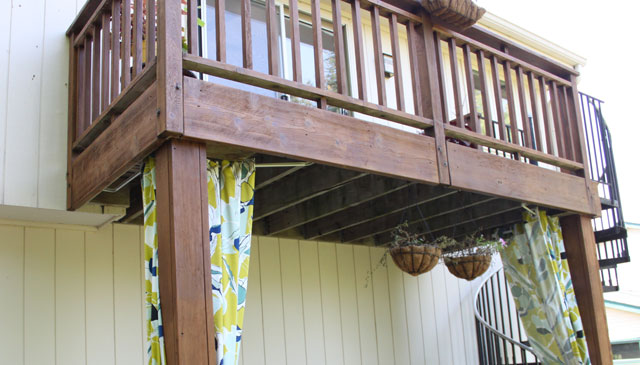
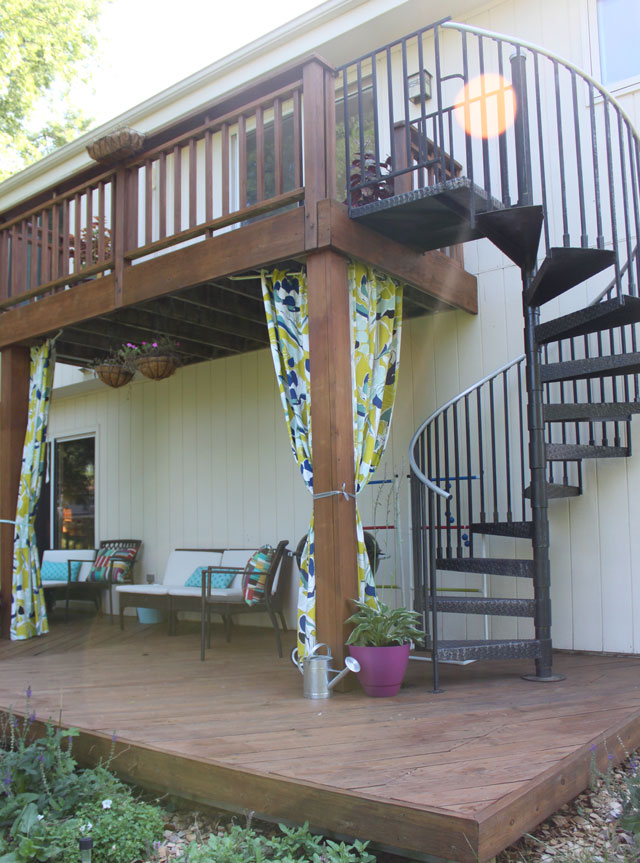
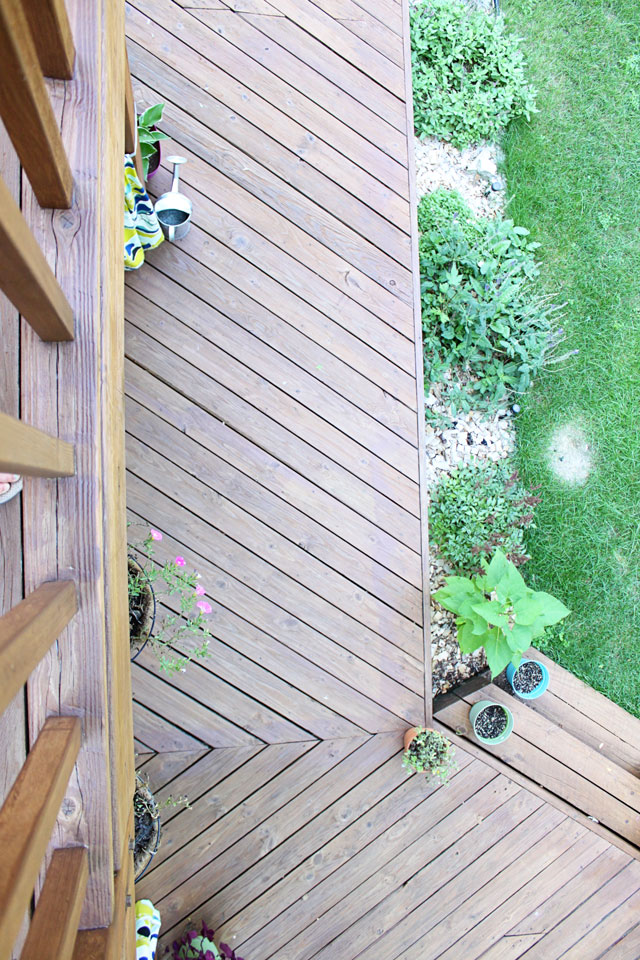
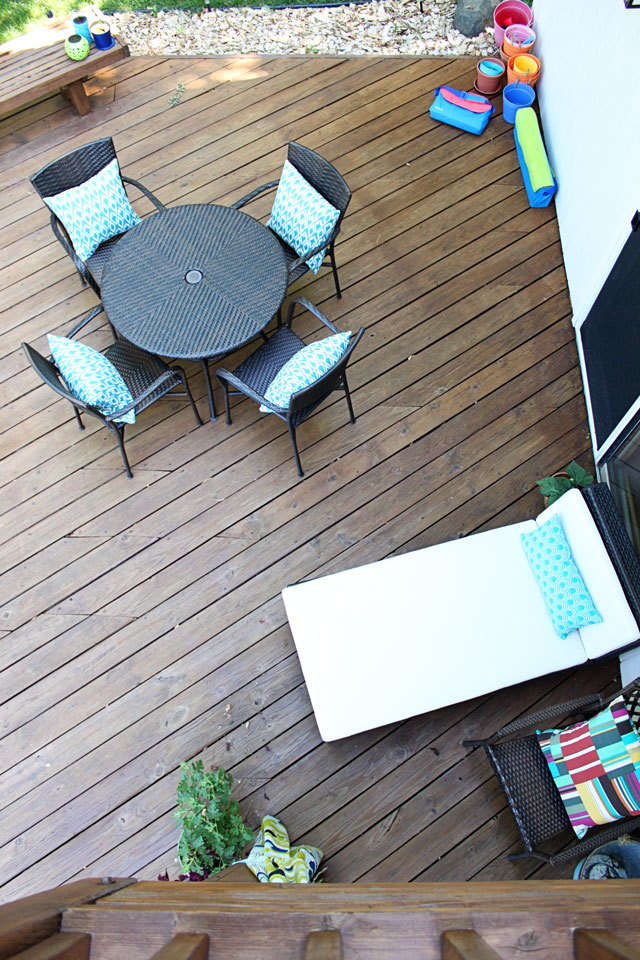
And now view the deck completely done and re-assembled! The process took quite a few weekends since both of them have full time jobs – shout out to all the weekend warriors out there! Three weekends were spent pressure washing and cleaning up the boards which included some sanding on the railings. Another, two weeks were spend staining the deck with a weatherproofing stain and making sure to get all the nooks and crannies. The best part of the project: the cost, because it isn’t that large considering the transformation. Just three gallons of weatherproofing stain were used.

One last tip: If you can borrow a pressure washer from someone you know, you’ll save more. View all of our Weekend DIY posts.