Spring DIY Projects

Birds, Gardening, Outdoor Decor, Pin Inspiration, Weekend DIY

We’re over a month into spring and well, for most of us, it quite frankly hasn’t felt much like spring yet. Seems like Mother Nature is perhaps a bit confused? Here in Wisconsin we’ve been plagued with the opposite of a drought – never ending rain and very non-spring like temperatures. Some of our friends further north are even getting more snow!

Whether the outside says it’s spring or not, it can still be spring inside your heart. To get thinking spring, check out these fun DIY ideas that incorporate spring ideas – and let’s hope all of these April showers do in fact bring May flowers!

Hose Wreath Tutorial by Create.Craft.Love. hose-wreath

Indoor Herb Garden DIY by DesignSponge
herbgarden1

Butterfly Bell Jar Tutorial by The Pin Junkie
If you’re looking for a bell jar/cloche, check out the ones we have available here.
butterfly-bell-jar

Under $5 Spring Bird Feeder by A Cowboy’s Wife
diy-birdfeeder

For more fun spring and DIY ideas, check out our entire DIY Pinterest board.

team-signature


Weekend DIY: Stump Stools

Before & After, Furniture, Outdoor Decor, Outdoor Party, Pin Inspiration, Weekend DIY

Everyone dreams of having that amazingly decorated,-cozy outdoor room often seen in  magazines or design blogs. But you easily brush if off because how in the world would you make it look like that yourself? Well, we recently came across a photo of a lovely outdoor dining set up, immediately thought “oh so pretty” and next, how awesome are those stools?! Then, we thought where do you find those! Finally we thought, let’s look at pinterest for a DIY. Here’s the image we’re referring to:

stone wall outdoor dining table with tree stump stools (Source: Pinterest)

So, stumped on what to do this weekend? (no pun intended, haha) Not anymore! We’ve got the perfect DIY project for you to start and it would make a great addition to your outdoor living room,a porch or even your favorite rustic indoor space! This DIY comes from the blog, The Art of Doing Stuff. The author believes in not spending lots of money on the things that fill your home, as she’d rather find it at a garage sale or on the side of the road as opposed to a fancy store. So when she also saw a tree stump side table in a magazine, she thought, “I can make this”. And so can you.

This DIY stump project is something you’ll want to start this weekend, and finish up in about a month – as you have to allow the stump to dry out. But don’t worry; it’ll be ready just in time for the arrival of spring! The bonus is this project doesn’t cost much, especially if you can easily track down an old tree stump outdoors. Next, you’ll need some polyurethane, sand paper and a paint brush. If you want to make it into a side table, you could even add legs like she did. She shares the whole DIY instructions on her blog, so head on over and check out how to make this amazing stool or side table.

(Source: The Art of Doing Stuff)

We also found another great example of how to use a stump sidetable on the blog Design Megillah. Check it out to see how she made her stump!

Happy Weekend!
team-signature

Weekend DIY: Chalkboard Paint Herb Pots

Gardening, Outdoor Decor, Pin Inspiration, Weekend DIY

It’s never too cold to grow herbs indoors! Even temperatures that reach -8 degrees F like we experienced in WI this week can’t stop you!  Growing herbs indoors during the winter is not only convenient for adding a special touch to your kitchen creations but also is a great way to help keep your spirits high during the winter months – who doesn’t enjoy some fresh basil or oregano?

You know what else will keep your spirits high? Doing a fun and easy weekend DIY project! How about some chalkboard painted pots to grow these tasty herbs in? Wouldn’t these look great along a kitchen windowsill? The Weekend Homemaker has a great little DIY project on her blog that shows you step by step how to create this project. The only thing that you might need to do differently is start these herbs from seed since most nurseries won’t have these in plant form quite yet this season. Head on over to her blog for the full DIY instructions! (P.S. Chalkboard paint can be purchased at just about any big box home improvement store (Home Depot, Lowes, Menards). Just look in the aisle by the spray paint!)

wmblog-chalkboardPots

Does anyone else have a fun weekend project ahead of them?

Happy Weekend!
team-signature

Holiday Wreath Ideas

Outdoor Decor, Pin Inspiration

It’s not too late to deck the halls AND your front door with boughs of holly and whatever other creative ideas are out there! Over the past few weeks, Pinterest has been flooded with unique wreath ideas for the holiday season. Many even involve non-traditional materials, such as cotton balls, gift bows, picture frames and more. This isn’t your grandma’s Christmas wreath anymore!

We’ve compiled our favorites and want to share with you in case you need some last minute inspiration before your holiday guests arrive!


(Source: It’s Overflowing)

(Source: House by Hoff)

(Source: Design Improvised)


(Source: Fit2feelbetter)

Winter wreath--brown and blue ornament wreath
(Source: Canadian Living)

PS – many times wreaths also look great hung above the fireplace, so if your door is all decked out already, think indoors!

team-signature

Weekend DIY: A Christmas Tree for the Birds

Birds, Outdoor Decor, Weekend DIY

While most of our northern bird friends fly south for the winter (as would I if given half the chance), some of our bird friends stay put and wait out the long, cold winter with us. Chickadees, Cardinals, owls and many others are the brave souls you’ll see fluttering around your yard this winter. Finding food in the winter is a much larger task than in the summer months, as snow covers the ground and not as many people venture out to re-fill their bird feeder.

Once Christmas is past and your tree is starting to look dried out, here is a suggestion: decorate the same tree, but outdoors for the birds! Robin from the blog The Robin’s Nest shared a great example of just how to decorate a Christmas tree for the birds. We’ll share a few photos and ideas from her blog, but then head on over to her site to view more!

(Photo: Robin Beck)

A few examples of decor she created for the tree were peanut and berry garland, bird seed ornaments and purchased bird houses. A few tips she shares:

  • Use wire for the garland instead of string. The birds will bite through the string and take it with them otherwise.
  • You can buy square-shaped bird seed chunks and then turn them into a present with raffia. Otherwise you can find bell-shaded ones at this time of year, or make your own from these diy instructions.
  • Add bare sticks throughout the tree for birds to perch on.
  • Tie everything to the tree with wire and zip ties. Squirrels also will love the tree and will tend to run up and down – easily knocking things off the tree if items are not secured.

(Photos: Robin Beck)

Happy Weekend!
team-signature

Our Top 5 Gifts for 2012

Gifts, Outdoor Decor, Store

The countdown is on…Only 2 weeks until Christmas! Maybe you’ve been wondering what to get that special garden or outdoor lover in your life. Well wonder no more! We’ve put together our list of our top-selling items this holiday season to help make your shopping even easier. But you’ll need to hurry — orders must be placed by December 16th for delivery in time for Christmas!

top 5 garden gifts

Source List: 1. Rain Chains 2. Amaryllis Trio 3. Cobalt Blue Strawberry Planter 4. Garden Hook 5. Muscari Forcing Kit 

Happy Shopping!

Weekend DIY: Gift Tags Inspired from the Outdoors

Outdoor Decor, Outdoor Party, Weekend DIY

Christmas is just around the corner and the season of giving is here!  Whether you have all of your Christmas shopping done or you haven’t even started, you can begin checking one thing off your list today: holiday gift tags! We’ve seen so many amazing ideas on pinterest for gift tags, everything from scrabble letters, ornaments, crossword puzzles and more. We figured we’d share with you an easy gift tag idea that brings the outdoors inside this holiday season. These unique gift tags come from the Frolic! blog. After finishing the project, head on over to their blog for more inspiring floral arrangements, decoration ideas and style tips!

Holiday cards
Frolic! Blog

If there are any Santa believers in your home, you may have to do this weekend DIY in a closet, but otherwise you can start off your wrapping with these outdoors inspired wreath gift tags!

Here are the supplies you’ll need: spool of wire, greens (Frolic! used boxwood, oregonia, rosemary, myrtle, seeded eucalyptus), clippers, floral tape, twine, card stock, and a scissors.

How to make the wreaths:
No. 1 // Make a small, round shape by twisting a couple pieces of wire together. Our wreaths are about 1″ in diameter.
No. 2 // Clip pieces of greens, removing leaves from the bottom inch of the stem.
No. 3 // Twist the greens around the wire until it is covered.
No. 4 // Keep twisting small pieces of greens around the form, securing them under the other stems as you go. Secure with wire or floral tape if they need extra reinforcement.
No. 5 // Clip any stray stems that disfigure the shape of the wreath.

How to make the cards: 
No. 1 // Cut a square of card stock (around 2″ x 3″ or whatever fits your wreath best) and punch a small hole in the center, top of the card.
No. 2 // Stamp the card with a custom stamp or buy one ready-made. Or if you are into unique handwriting try finding some inspiration for pinterest.
No. 3 // Attach a mini wreath by tying a piece of twine through the hole.

homemade christmas card
Frolic! Blog

We love the simplicity of these and how just a little touch of greenery is such a classy way to adorn your gifts this season.

Happy Weekend!

Inspiration: Outdoor Christmas Lights

Curb Appeal, Lighting, Outdoor Decor, Pin Inspiration

Each weekend more and more houses are getting decked out for the holidays with Christmas lights and outdoor holiday decor. If your house isn’t one of them, it’s time to get your Clark Griswold on and hop on that roof!  And when you are done, relax and enjoy the Christmas classic, Christmas Vacation with some hot cocoa.

If you need a bit of inspiration, check out these over the top Christmas Lights caught on video! And wondering whether LED lights are worth the extra cost compared to the traditional lights? Apartment Therapy did the math and they have determined LED lights in the end save you money, read more on their blog.

Weekend DIY: Add Privacy to your Front Door

Before & After, Curb Appeal, Outdoor Decor, Pin Inspiration, Weekend DIY

Have you watched a scary movie or tv show lately? You know, the kind that makes you have that creepy un-easy feeling that someone is just outside your home, staring into your living room while you go about your life?  Or it makes you second guess every action you do in fear of the neighbors thinking you’re crazy?  And now with the sun rising later and setting earlier, it seems as though it is always dark when you are at home – dark before you leave for work, dark when you get home – you have the urge to add some extra added  privacy to your windows…blinds, curtains or the like. And you better do it FAST, before they get you! ;)

While blinds and curtains work well for windows throughout your home, putting blinds on your front door can seem a bit gaudy or just not as classy as you’d like. We have the perfect DIY idea that quickly transforms the “dark unknown” into a graphical focus in your entryway! This DIY comes from one of our team members who wanted to add some privacy to her front door after removing some blinds that once filled the window on the door.

She got the window idea from the blog, 7th House on the Left, who even provides a handy template for the cut-out shape, to help your cutting go easier and faster. Also, by reading the comments on the blog, you’ll learn a lot of bonus tips. The blogger transformed her front door (with half a window) by applying contact paper in a unique Moroccan shape to the window to give it a faux-etched look.

Our team member, Vanessa, tried this same effect, applying it to her completely glass front door. Check out the finished look below – talk about a unique entryway that provides privacy but still allows a lot of light in! Here are her summarized instructions, but you can feel free to also head to the 7th House on the Left blog for more information!

add privacy to windows with contact paper

What you’ll need: 1 roll of contact paper (find at any big box store), template provided, cardboard or cereal box, black marker, scissors, tape measure, exacto knife/utility knife and a dry erase marker.

1. Print out the template provided by 7th House on the Left blog.
2. Cut out the shape and transfer it to a thicker paper, such as a cereal box or other piece of cardboard.
3. Trace out as many shapes as your heart desires onto the back (or paper) side of the contact paper. Our team member found that drawing 8 of the shape, and then cutting out those provided the easiest route. Since the paper has been rolled up, it tends to want to keep rolling, so only having 8 keeps it much more manageable.
4. Once you have a decent amount cut out, you’ll need to measure your space and gauge how many more you’ll be needing.
5. The first time Vanessa counted how many she’d need, she was way off – you’ll soon see how many more you need and how you can use bits and pieces of them to fit around the edges.
6. Measure your window and mark the exact middle (vertically and horizontally) with a dry erase marker on the opposite side of window.
7. Start your first shape in the exact center and then apply the first column going up and down. It’s best to do a complete column first, also keeping about 1/2 an inch between the tops and bottoms. This will allow for the best possible spacing throughout your window which helps to keep things consistent.
8. Keep applying more and more until it’s covered. Vanessa found that hers wasn’t perfect due to the fact it’s handmade, each cut being unique. But from a few feet away, she says, you can’t even tell and it just looks AWESOME!
9. Once you’re done, use a credit card to smooth out any tough bubbles that may have formed. Also, use the utility knife to trim the excess from shapes around the edges.
10. Sit back and enjoy (without being terrified of the unknown that lurks outside!)

The best part about this, is that it’s only about $3 to create and it’s removable if you decide later on that you’d like to switch things up! It also adds a very classy touch to your home when viewing it from the outside. Thanks to the 7th House on the Left blog for inspiring us!

Happy Weekend!

Guest Blog: Flower Bulb Forcing

Garden Spaces, Gardening, Outdoor Decor, Store

Guest Blogger, Gabrielle from the blog FlowerBulbCrazy is here to share some unique ideas and tips for forcing bulbs this winter. After she is done sharing, head on over to her blog to check out other great ideas and tips on gardening with flower bulbs!

There are so many people who really miss out on spring blooming bulbs… people who live in the warmer zones and think it’s too warm to plant!  And then there are people like me who long for winter to be over and want flowers 24/7. Typically, growing flower bulbs is almost fool proof, but forcing bulbs takes a little more time and attention. Forcing bulbs is the term used for mimicking what normally happens to bulbs when planted outdoors.  It is a process that stimulates bulbs to bloom out of season.

The most common and easiest bulbs to force are:  narcissus/daffodilsamaryllismuscari, crocus and hyacinths.  Daffodils and tulips are not too difficult either, but choose shorter and earlier blooming varieties (Triumph, Single Early and Darwin Hybrid varieties) for the best outcome.   Generally, spring flowering bulbs usually require about 10-14 weeks at temperatures between 41-48°F in order to bloom and grow properly come springtime. Check out the chart below for the approximate number of “chilling” weeks required and number of weeks to bloom for different varieties of flower bulbs.

Name of bulb                         Weeks of cold                    Weeks to bloom

AmaryllisNone6 to 10
Crocus152 to 3
Hyacinths11 to 142 to 3
Muscari13 to 152 to 3
Narcissus/Daffodils15 to 172 to 3
Paper-whitesNone3 to 5
Tulips15 to 202 to 3

Instructions
Pot your bulbs right away if you have an appropriate location immediately available, such as a refrigerator, a root cellar, cool basement, or outdoors if temps are below 48°F. When storing pots outdoors for the cold period, be sure that if temps drop below 30°F that you cover them with some type of insulation. If you can’t plant them immediately, bare bulbs can be stored in a mesh bag or paper bag with holes that permit ventilation for several weeks in a refrigerator prior to potting without damage. Note: Do not store them in same vicinity as fruit, as the ripening process can negatively affect the quality of the bulbs.

Use clean pots with drainage holes and regular potting soil. Make sure you allow for 2 inches of soil below the bulb and select a pot large enough to allow the top of the bulb to be even with the rim when placed on the soil. The bulbs should be touching each other for the best look when blooming. Water them well after planting in order to settle the soil.

The bulbs will begin to flower anywhere from 2-5 weeks after they have been brought into warmer temperatures, provided they have been given the recommended number of weeks of cool temperature (see chart above). If you have a set time when you want them to bloom, make sure you add the flowering period to the rooting/cold period for the total number of weeks to wait. Amaryllis and Paper-whites do not need this cold period.

These next steps would be ideal for the best and most perfect blooms.
Move your pots to an indoor area with indirect sunlight and temperatures about 60°F for a week or two. When the above plant growth is 4-6 inches tall, move the pots to a bright, sunny window to stimulate blooming. A temperature of about 68°F and direct sunlight would be ideal. When you see the color on the buds, return the plants to indirect sunlight to make the blossoms last as long as possible. Keep the soil moist at all times.

After blooming, hardy bulbs such as hyacinths and tulips cannot be forced again and should be discarded. They can also be instead planted outdoors where they may re-bloom within a year or two.

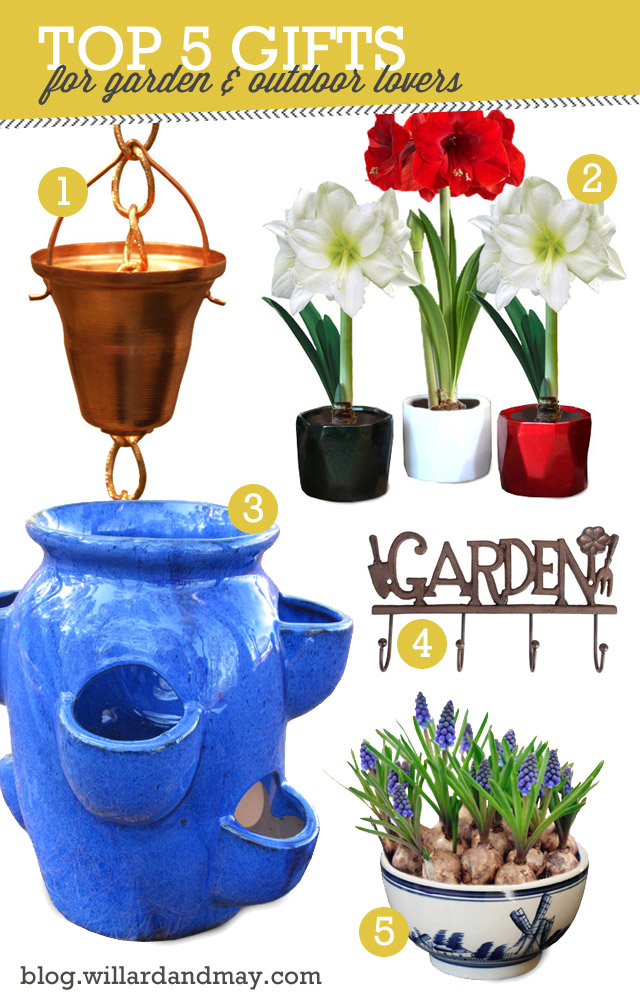
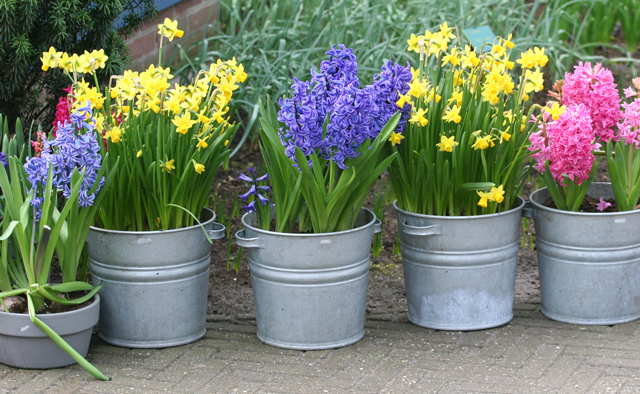
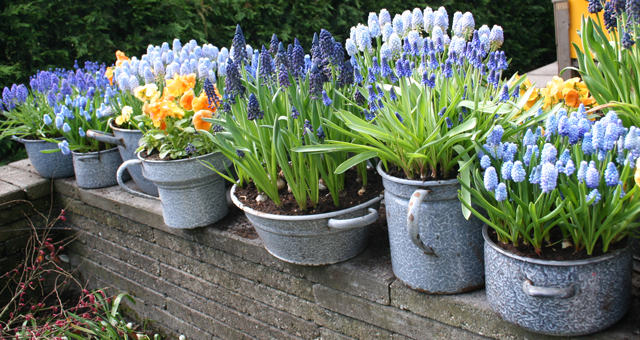
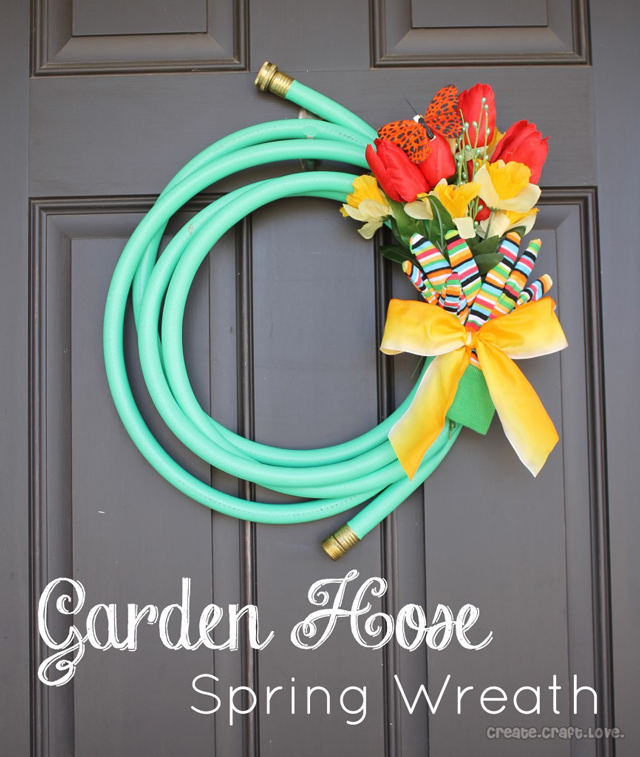
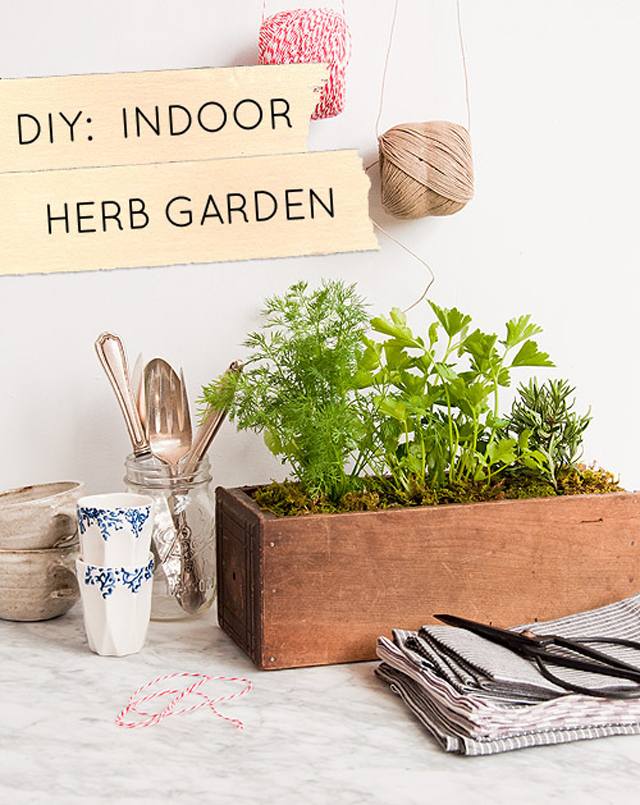
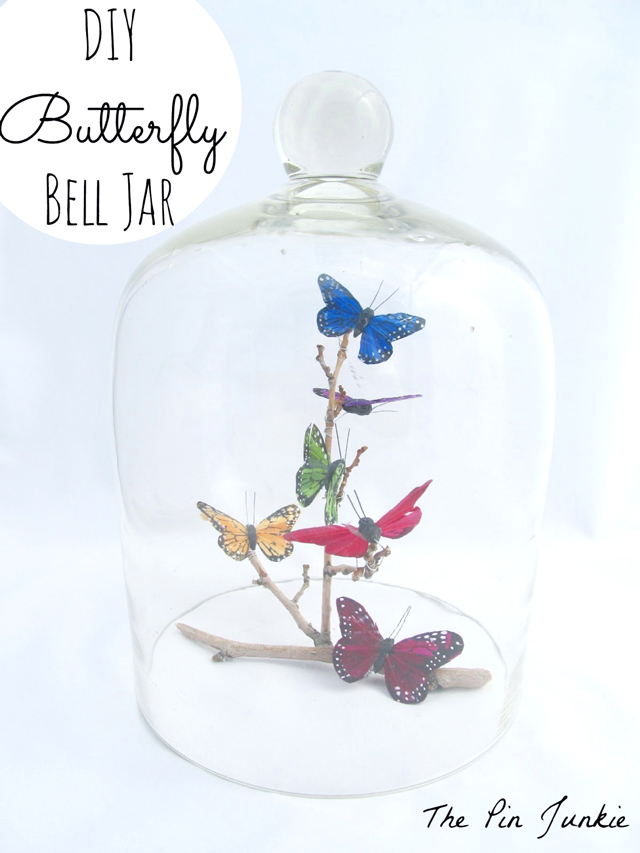
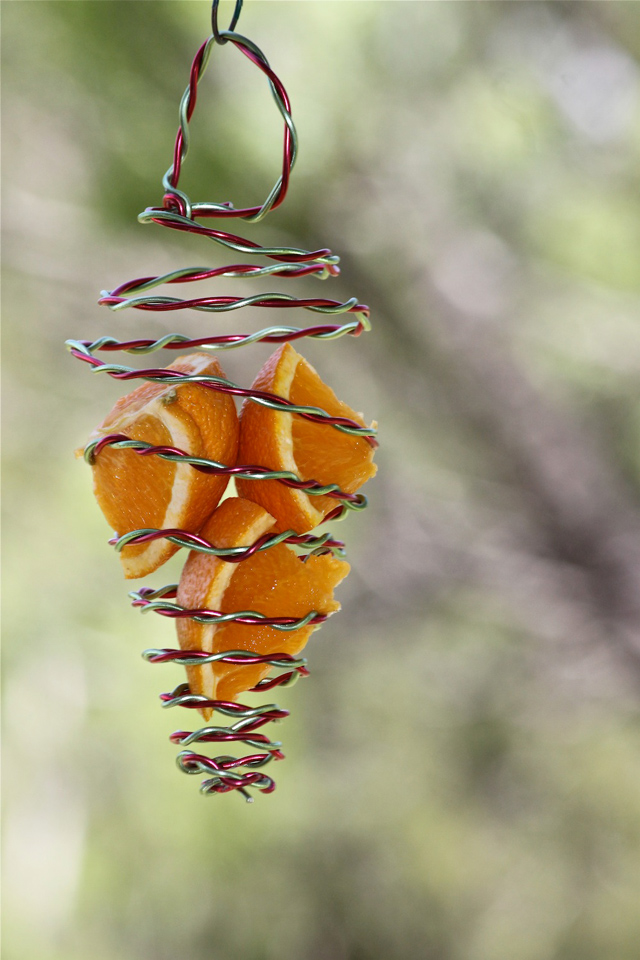
Forcing Flower Bulb Inspiration – Ideas for your Home

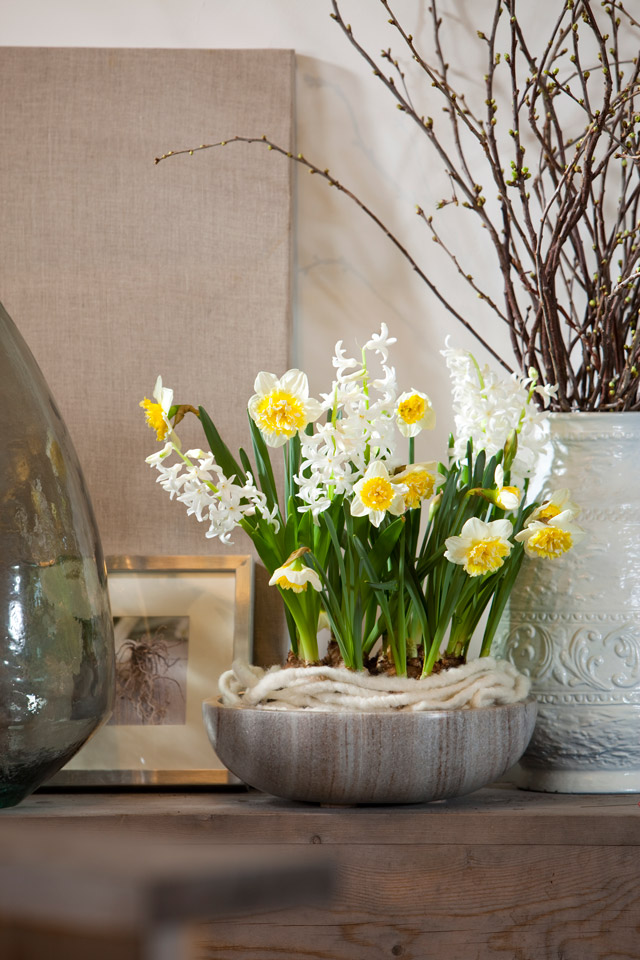
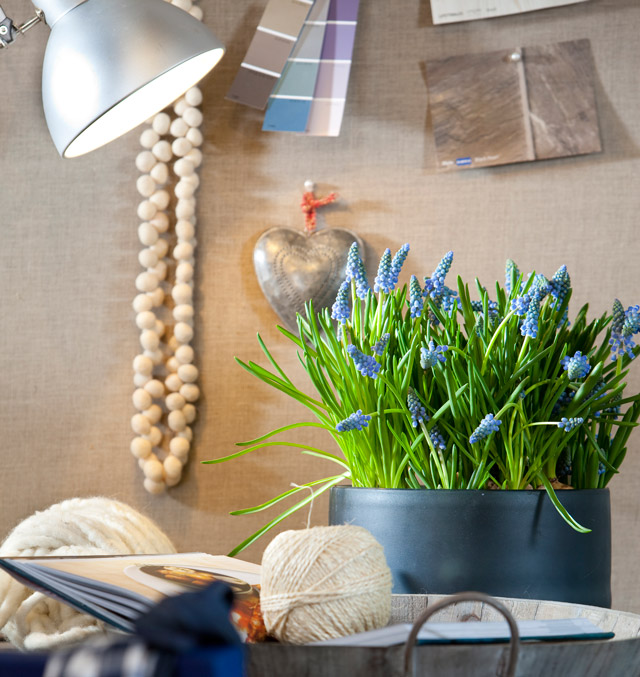
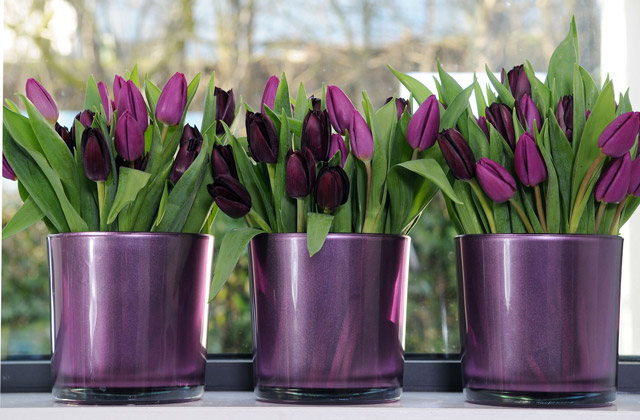
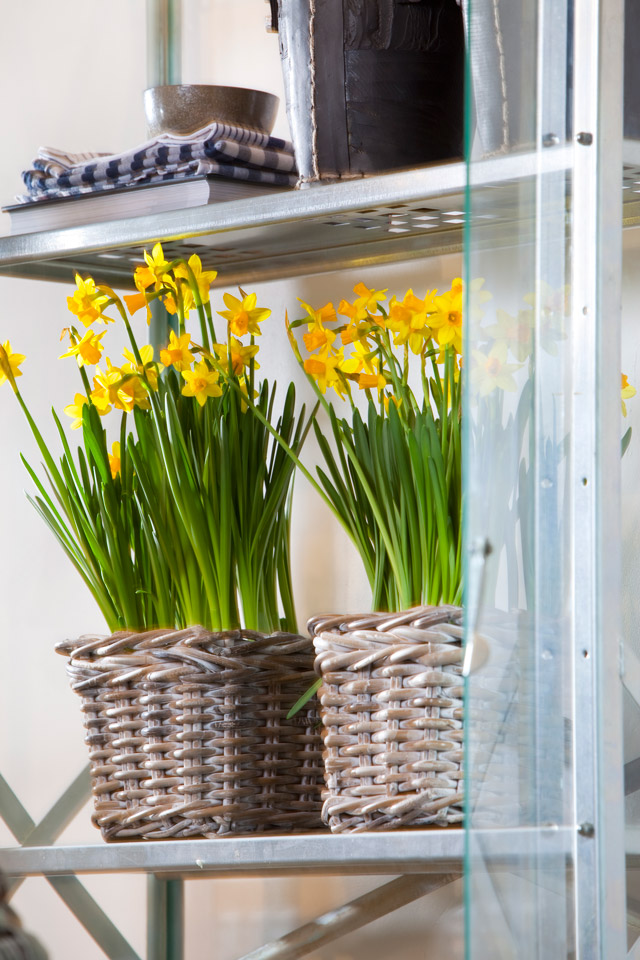
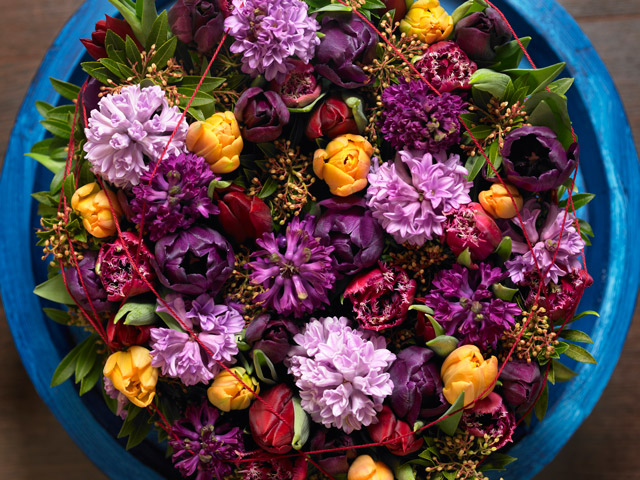
Maybe you will want to give this a try now?  I especially enjoy forcing Hyacinths for indoor enjoyment because of their sweet fragrance!  Thanks for letting me share and I hope you found this helpful and easy to understand.