For many, gardening is a way to relax, forget about life’s craziness and release some anger on those weeds! While you’re out in the garden, it’s can also be nice to reminisce about the things you planted and how they came to be. Maybe that hydrangea the with bright pink blooms was once your grandmother’s and reminds you of how sweet she was or the time you spent gardening with her when you were young. It’s great to bring memories into your garden – and with this fun and easy DIY project from the blog Prudent Baby, we’ll show you how to make a garden stone that will inspire you to continue to garden for years to come.

(Image Source: Prudent Baby Blog)
Here is what you’ll need to get started: a small amount of cement (or stepping stone kit from a craft store), a mold (a bread pan for example), oil, and stone stamps (can be found at a craft store). You could also get creative and use other tools to engrave your stone, such as pebbles or your children’s hand or foot prints.
Here are the basic instructions – (for more detailed instructions, refer to the blogpost from Prudent Baby.) Step 1: Mix your cement according to the directions on the kit or package. Step 2: Spray or spread oil into your mold. Step 3: Pour cement inside the mold, smooth the surface out, and tap the pan to remove air bubbles. Step 4: If you want to add objects to your stone, do so now. If you just want to engrave, wait 30 minutes before doing so. To see if the stone is ready for engraving, scratch the surface and if you get a “dry mark” you are ready to go. If it’s still a bit liquid-y, wait a little while longer. Step 5: Let stone dry for at least 24 hours before removing from the mold.


(Image Source: Prudent Baby Blog)
And there you have it! Display your stone for all to see – or make it a tradition to add something new to your garden each year.
Happy Weekend!


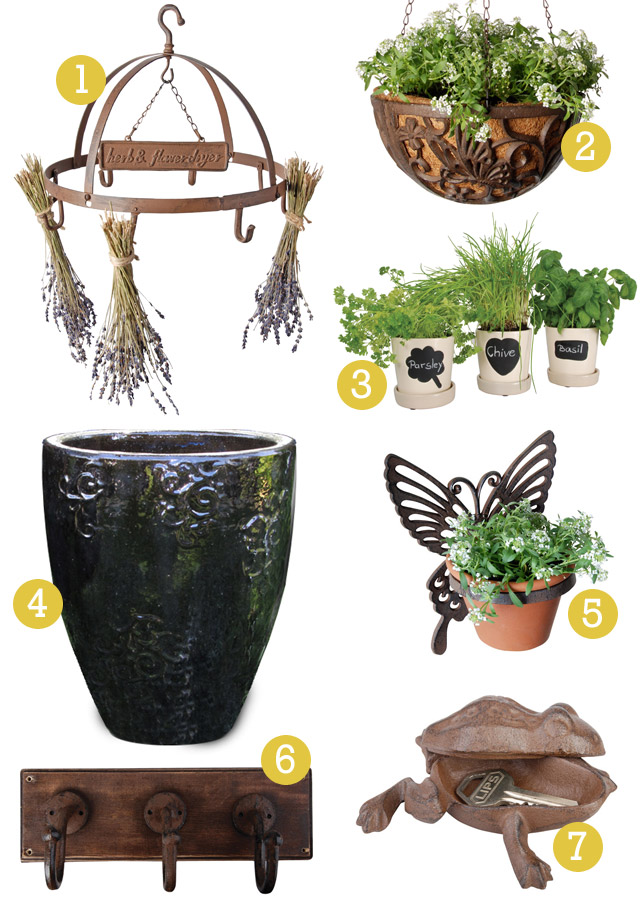
 (Photo Source:


 (Photo Source: