
You’ve probably heard the phrase “luck of the Irish” – especially since St. Patrick’s Day is this weekend. Upon hearing this phrase, you’d typically think that it means that the Irish are lucky people, when in fact it’s just the opposite. If you look up the history behind that phrase and the Irish, you’ll see that it is not quite good luck they refer to, but that the Irish have particularly bad luck. Ireland faced famine, war, prejudice and had their land taken from them multiple times. However, later on in time, this phrase was also referenced to the times when the Irish came to America and found gold, therefore adding a positive connotation.
If you happen to have the bad “luck of the Irish” when it comes to gardening, you actually may be in luck after all! Keeping plants green (a.k.a. “alive”), does require some hard work. You’ve got to water them, fertilize them, keep pests away, and some of them even need to be cut back regularly. Not to mention some plants only grow in specific environments. So, if you have trouble keeping plants “green” then fake/faux plants are the way to go!
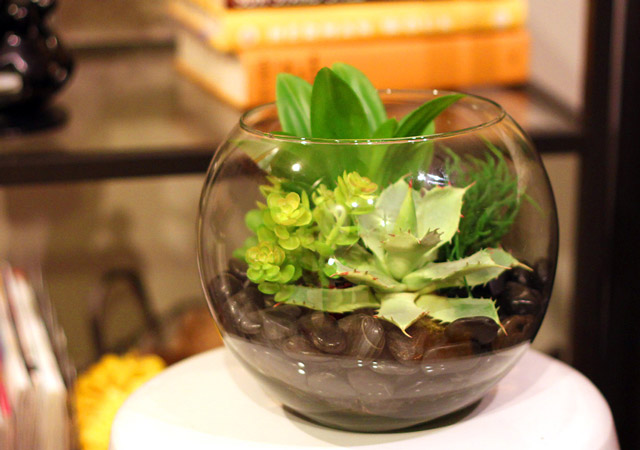
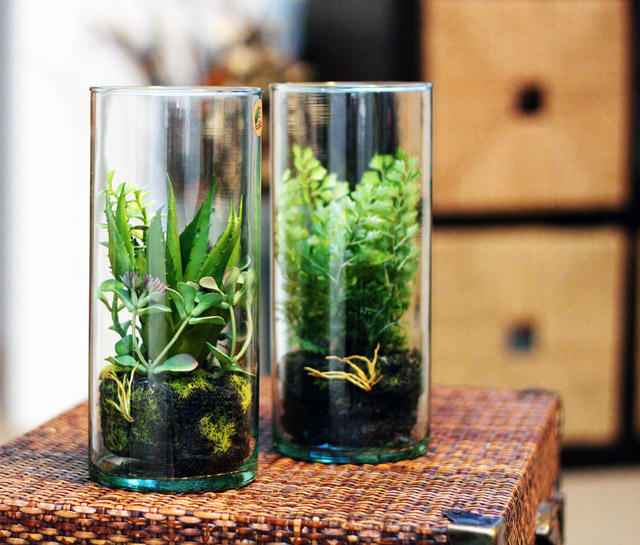
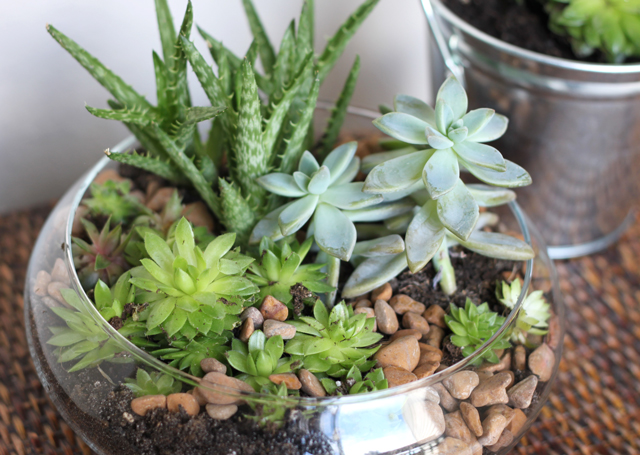
We recently launched a line of faux terrariums, cleverly named “Forever Faux Terrariums” because they will be forever green! If you’ve seen live terrariums and been envious of them, you’ll be happy to know that these Faux Terrariums look and act just like the real ones and you don’t even have to tell people they are fake!
Building a faux terrarium couldn’t be easier! Simply pick out a container. Next, pick an artificial plant foliage option to place inside and then add a filler option such as rocks or moss. No watering, no cutting back, and no worrying required. You are also in luck because we made an easy to follow step by step How To Guide on Creating a Terrarium. Check out below all the fun options we have + save $5 this weekend only with coupon code: FOREVERGREEN5
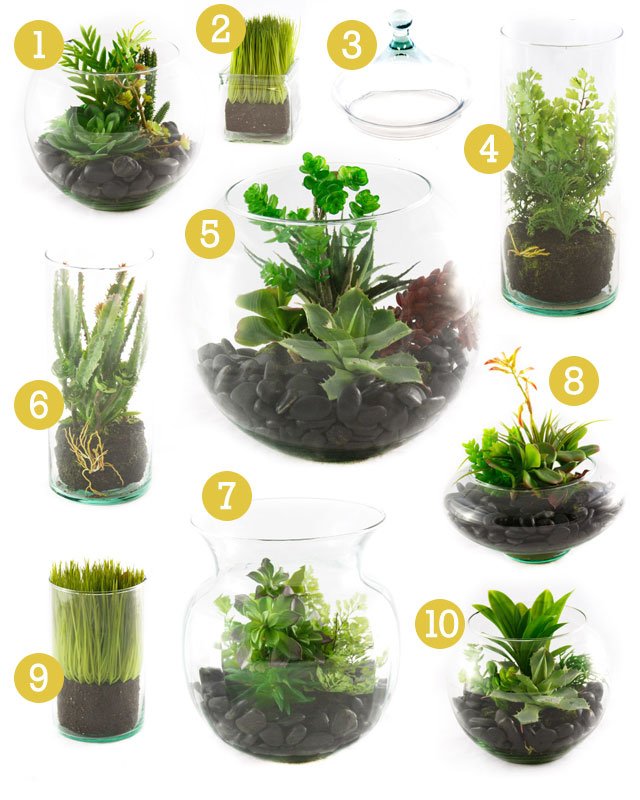
 (1. Bubble Terrarium 2. Square Grass Terrarium 3. Terrarium Lid/Cover 4. Cylinder Terrarium 5. Large Bubble Terrarium 6. Cylinder Terrarium 7. European Terrarium 8. Lotus Terrarium 9. Grass Terrarium 10. Bubble Terrarium)
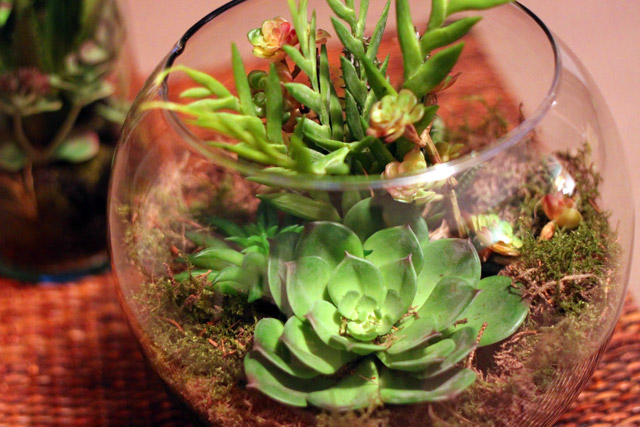
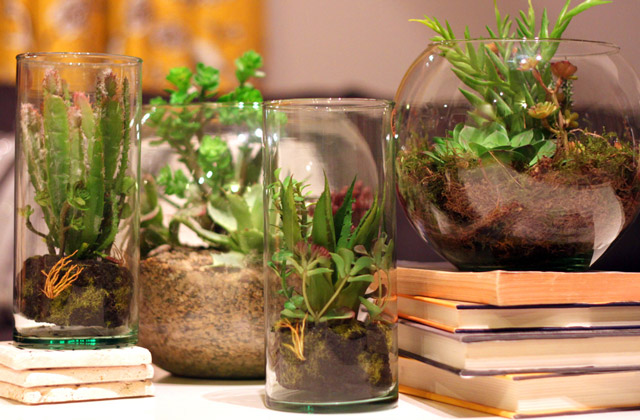
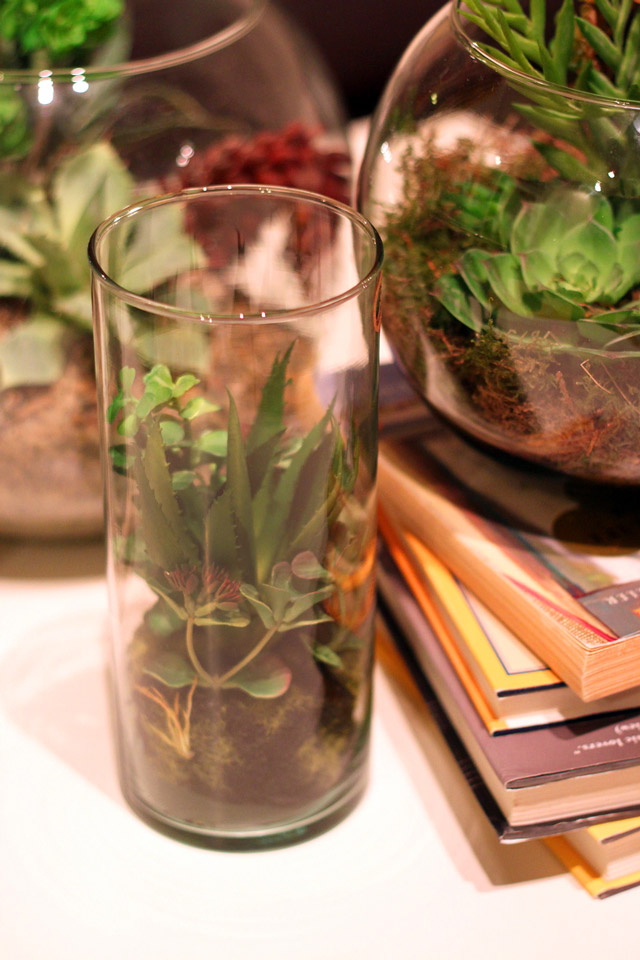
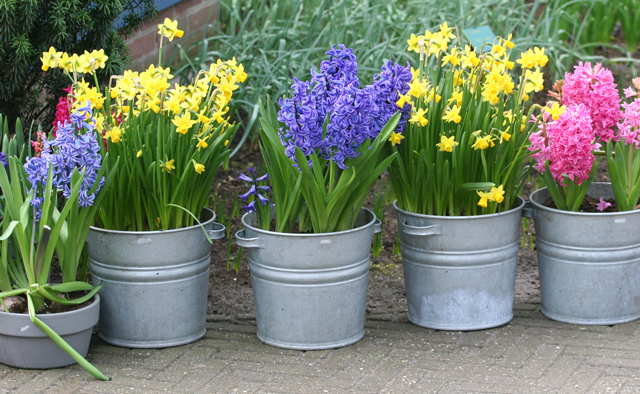
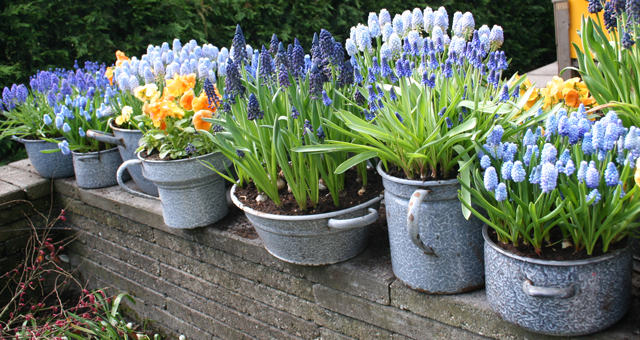
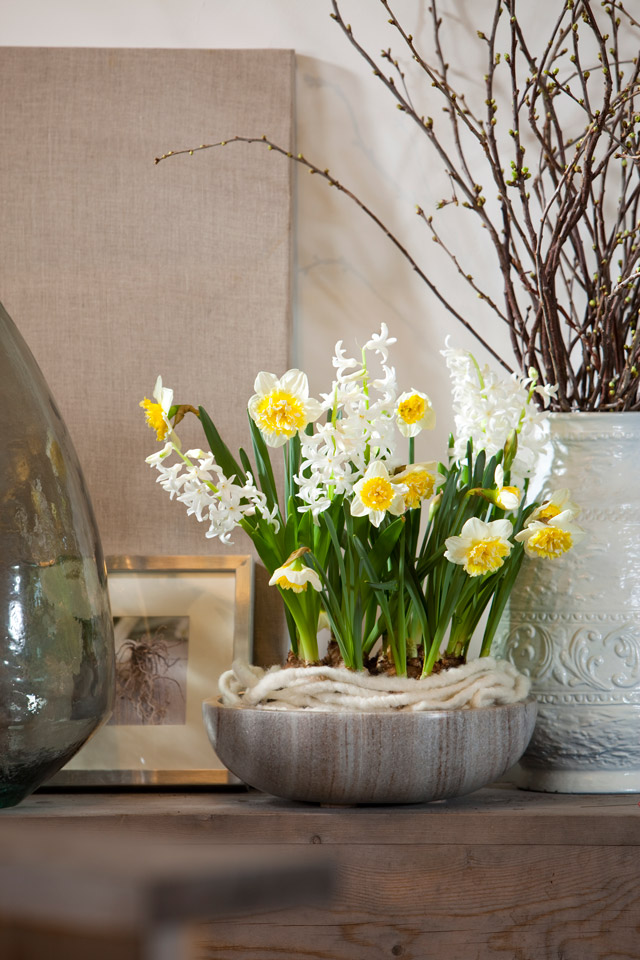
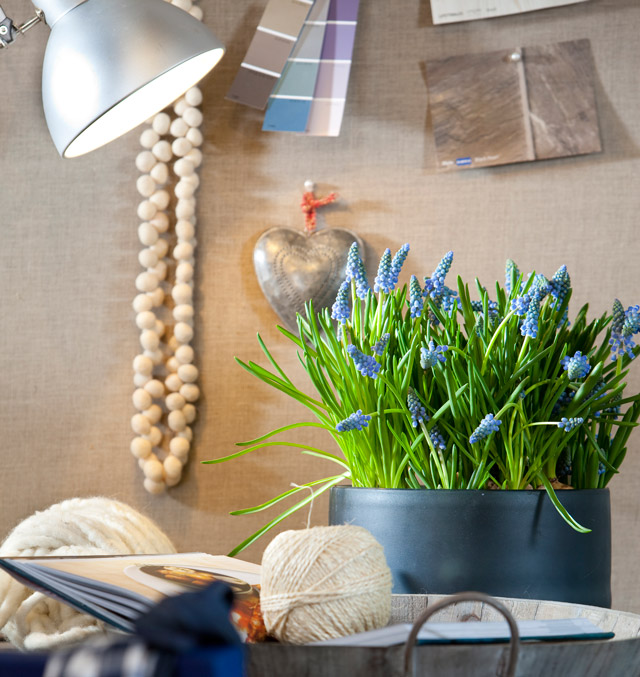
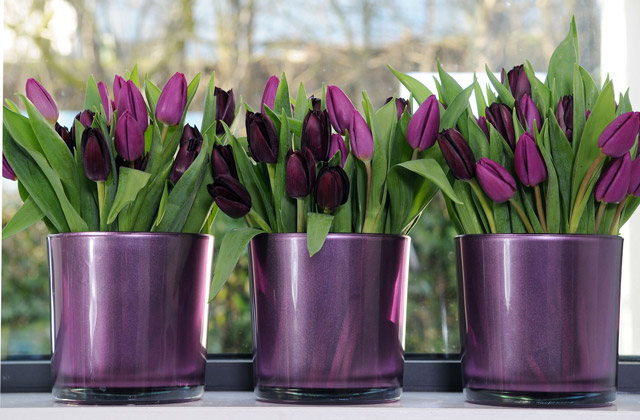
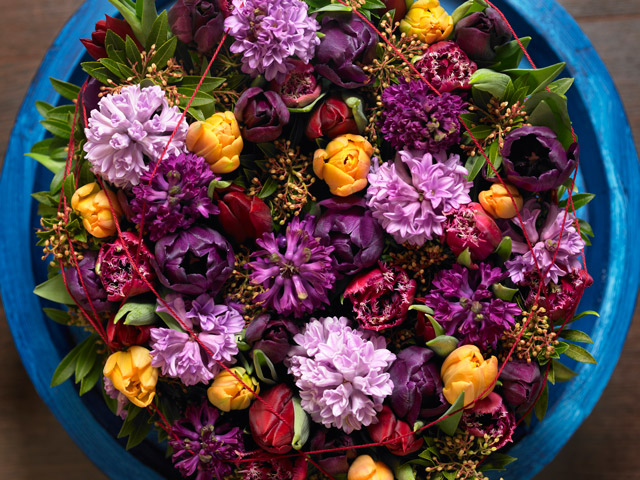
Not only will these Terrariums stay green forever, they’ll also add some life back into your home. Any interior designer will tell you that adding plants and greenery is crucial to good design. Place a terrarium on a bookshelf, coffee table or use it as a centerpiece for your table. It’s also a good idea to mix a few of them together. Here are just a few ideas to inspire you:
No more Irish luck for you and you also no longer have a valid excuse as to why you can’t “grow” a terrarium! And as the Irish say, may the road rise to meet you, which translates to may success be with you!
Happy St. Patrick’s Day!


 (Photo Source:
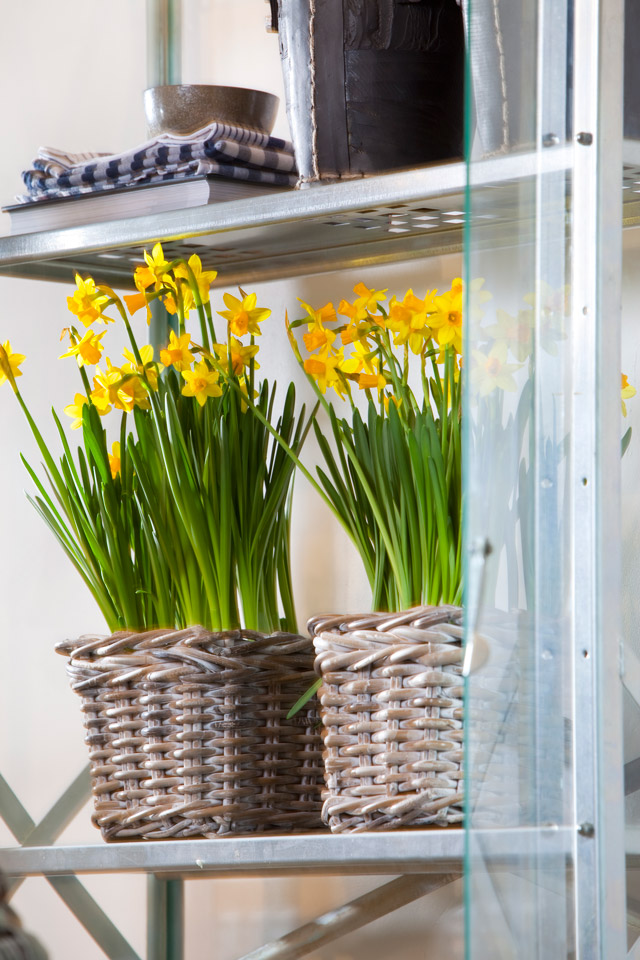


 !
! (Photo Source:


