Fall Planting 101 (Part 1)

Gardening

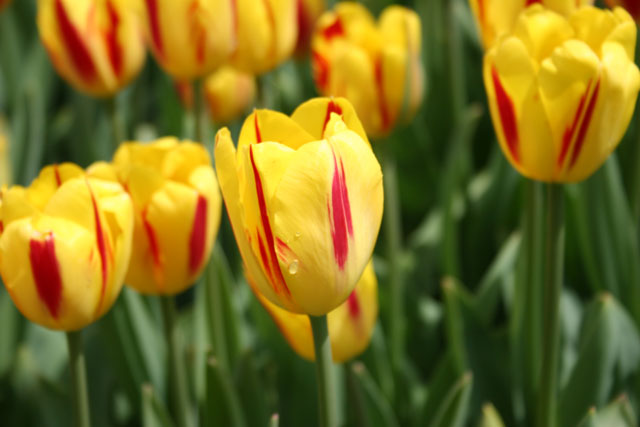
It’s almost fall in many parts of the country and that means one thing… fall planting! Now is the time to start planning out your spring garden by selecting bulbs you’d like to plant now. Many people don’t realize that you need to plant in fall in order to get gorgeous spring blooms and we don’t want you to miss out any longer! This is part one of a two-part post on fall planting. Today we’ll explain the basics of fall planting and bulbs. Next, we’ll share some of our favorite bulbs and some tips on how they can look great in your yard, too!
What is a bulb?
One of the first things to understand when getting started with gardening is the difference in terms used when referencing a plant’s storage organ. Many times, the word “bulb” is misused when describing the root system (or storage organ) of a bulbous plant. Not all bulbous plants are true bulbs. Below we list the most common types for fall planted bulbs:

True bulb cormrhizome

  • True Bulb: A true bulb is a compressed stem formed from layers of modified leaves that enlarge as they store nutrients. The roots are produced from the bottom of this bulb and the stem will emerge from a growing point at the top. Some bulbs have dry outer scales called a “tunic” that helps to protect the inner parts of the bulb from over-drying. Examples: Tulips, Daffodils, and Allium.
  • Corm: A corm is a mass of stem tissues, often bearing a terminal bud on the top and several other lateral buds. Dry leaf bases (similar to tunics) help protect the stem of the corm from harsh weather conditions and lack of moisture. Example: Crocus.
  • Rhizome: Rhizomes are swollen stems which grow horizontally below or just at the soil’s surface. The length of these rhizomes produces multiple eyes ( or buds) which send shoot above the ground. Roots grow from the underside of these storage organs. Example: Bearded Iris
  • Tuberous Root: Tuberous roots are true roots which are swollen with stored food and nutrients. The buds are only present at the crown or the stem end of the root with thickened, fleshy tubers scattered along the length of the root. Example: Ranunculus.

Bulbs Have a Life Cycle

  • Dormancy: The bulb is dormant and has been gathering energy after its spring bloom for the last several months. It will remain this way unless it is harvested for fall planting.
  • Planting: The bulb has been planted and is now forming roots to prepare for winter. It is continuing to gather energy for its blooms.
  • Pre-Bloom: New growth emerges through the soil as soil temperatures warm in the late winter and spring.
  • Bloom Time: The bulb has spent almost a whole year gathering energy for its spring blooms. It has rested and received the proper amount of light, moisture and cold temperatures and is now ready to bloom.
  • Preparing for Dormancy: Once the blooms have faded, the foliage begins to yellow and fade away. The bulb is not dying, but rather gathering energy through the leaves for the next season’s blooms. It is important to allow the leaves to complete this portion of the cycle prior to removing the foliage since it is still making food for the next spring’s blooms.

Life Cycle of a Flower Bulb

Plant Things According to What Zone You Live In
Gardeners need a way to compare their garden climates with the climate where a plant is known to grow well. That’s why climate zone maps were created. Zone maps are tools that show where various permanent landscape plants can adapt. If you are looking for a shrub, perennial, or tree to survive and grow year after year, the plant must tolerate year-round conditions in your area (hardiness zone), such as the lowest and highest temperatures and the amount and distribution of rainfall. To find what zone you live in, click here.

Zone Map

Weekend DIY: Stained Concrete

Weekend DIY

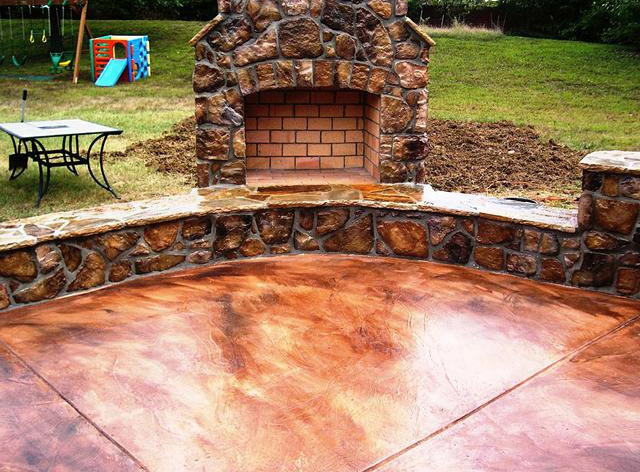
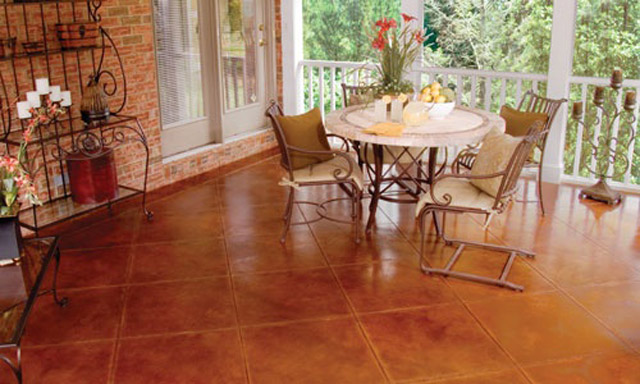
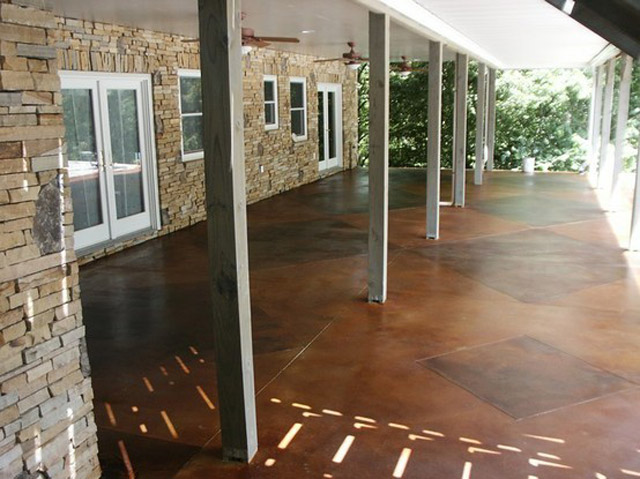
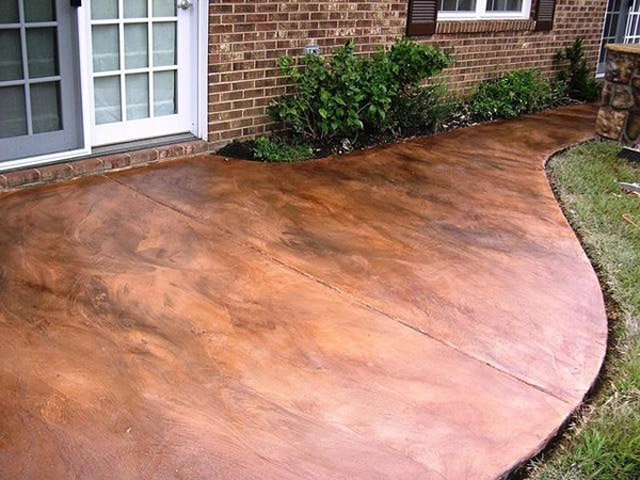
This weekend you’ll officially realize summer is over :( But while it’s still warm out, put your pouty face away and why not get your slab of concrete from looking drab to fab? That sounds pretty cheesy, and we know it – but seriously, with just a little bit of elbow grease and stain this weekend, you can get your front porch or back patio looking like never before!

Follow these step-by-step DIY Concrete Staining instructions from The Family Handyman to quickly and in-expensively transform your backyard. What you’ll need: a weekend, stain of your choice, sealer, cardboard for overspray, chalk line, straightedge, paint roller, roller tray and paintbrush. Now hop on over to The Family Handyman to see their DIY project for the complete how-to!

We also sought out pinterest for some pretty neat concrete staining ideas to inspire you:
stained-concrete-1


Happy Weekend!

Weekend DIY: Backyard Zipline

Outdoor Party, Weekend DIY

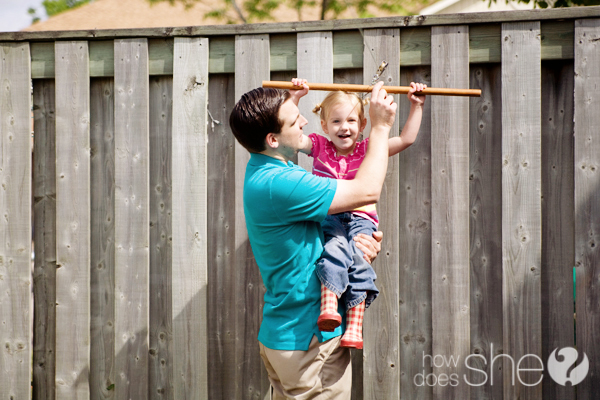
We having a feeling that after you build this DIY project your yard will become the neighborhood kids’ favorite backyard – whether that’s a good thing or bad thing, your kids will totally love you!

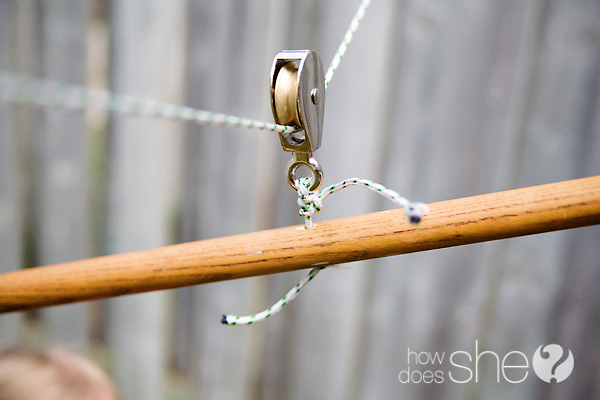
Now you’re probably sweating trying to figure out what this project is, and you may just sweat while doing this too. Your weekend project is… *drumroll* creating a Backyard Zipline – from the blog How Does She. Seriously, how cool would that be. It’s like your little sliver of Hawaii in your own backyard! Not only will your kids love you for making this, this would totally be fun for you to try out as well :)

(Photos: How Does She)

Here is what you’ll need to complete this project: Dowel for the handle, a pulley, and a rope. The instructions for this are very simple and easy, but we’ll let you head on over to the How Does She blog for all the details!

Happy Weekend and Happy Labor Day!

Before & After: Deck Do-Over

Before & After

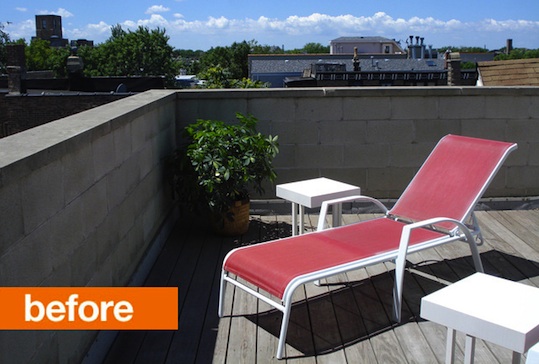
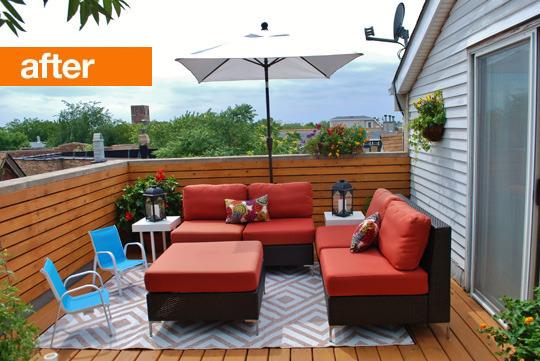
Decks are either a hit or miss. They are a hit when you first build and stain and seal them, but as the weather takes it’s toll on the wood, is starts to become a miss. Maintaining a deck is a task you’ve got to commit to. If your deck is crying for a makeover, check out this deck do-over inspiration we found from Apartment Therapy.

(Photos: Apartment Therapy)

Have a before and after you’d like to share with us? Just drop us a message in the comment section below!

Weekend DIY: Pallet Table

Furniture, Outdoor Decor, Weekend DIY

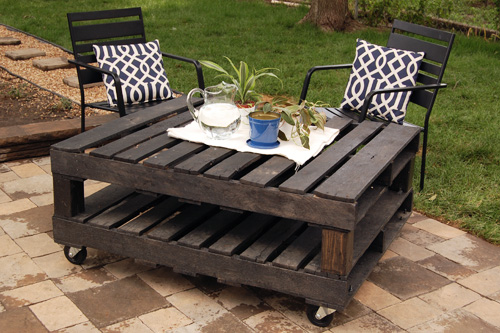
A growing trend over the past few years has been to recycle and re-use in an attempt to become more eco-friendly. This philosophy, no matter where you stand on the whole eco-friendly issue, is that we should do our best to keep our environment clean for future generations. Everyone can do their part in achieving this goal be either taking it to the extreme or simply do your best to recycle when you are able. This week we have a simple recycled diy project: We’re going to take something that could have been waste and re-purpose it using wooden pallets!

coffeetable_diy2 (Photo: Joy Ever After)

This DIY project comes from Amanda at the Joy Ever After blog. Here she takes two old wooden pallets and brings them back to life by turning them into an outdoor table. This table is more of in the realm of a coffee or sitting table, not a dining table. For the complete DIY instructions read through her blog post and comments for helpful tips.

Finding wooden pallets is easy. First, you can check Craigslist: many companies will post that they are free for the taking on a first come, first serve basis. You could also contact a local warehouse in your area that may have some extras laying around. If do happen come across a gold mine of wooden pallets, Pinterest has endless ideas for you to try!

Happy Weekend!

Before & After: California Dream

Before & After, Garden Spaces

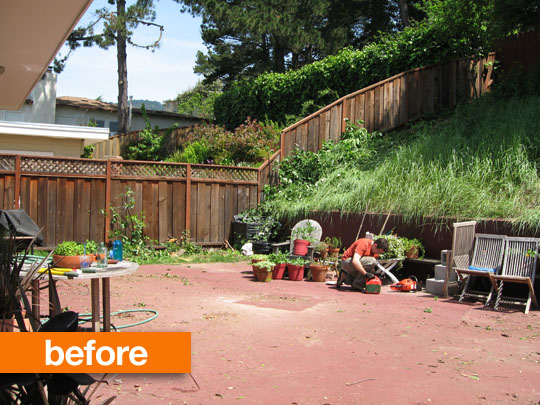
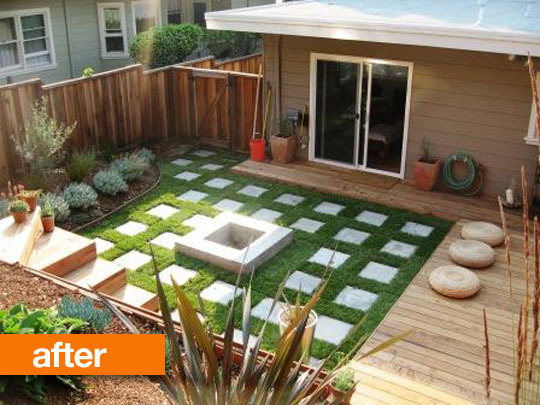
Every time you look at your backyard do you think there is no way I can transform this into my dream? We’re here to prove you wrong and help inspire you. A great resource we’ve come across is Apartment Therapy’s outdoor blog. They have oodles of Before and Afters of outdoor spaces that get our brains’ wheels spinning.

Check out this Before and After of this Oakland, CA backyard via Apartment Therapy. We love geometric patio they added with the checker board pattern. What do you love about this space?

(Photo Source: Apartment Therapy)

Have a Before & After you’d like to share with us, let us know in the comment section below!

Weekend DIY: Crane Garland

Outdoor Decor, Outdoor Party, Weekend DIY

Summer’s almost over, but don’t let that stop you from celebrating outdoors while it’s still amazingly nice out! So now you are asking what you can celebrate… here are a few ideas:  kids going back to school, back to semi-normal routines, football season, new episodes of your favorite shows starting back up – really you can find a number of reasons to just celebrate the good ol’ life you have.

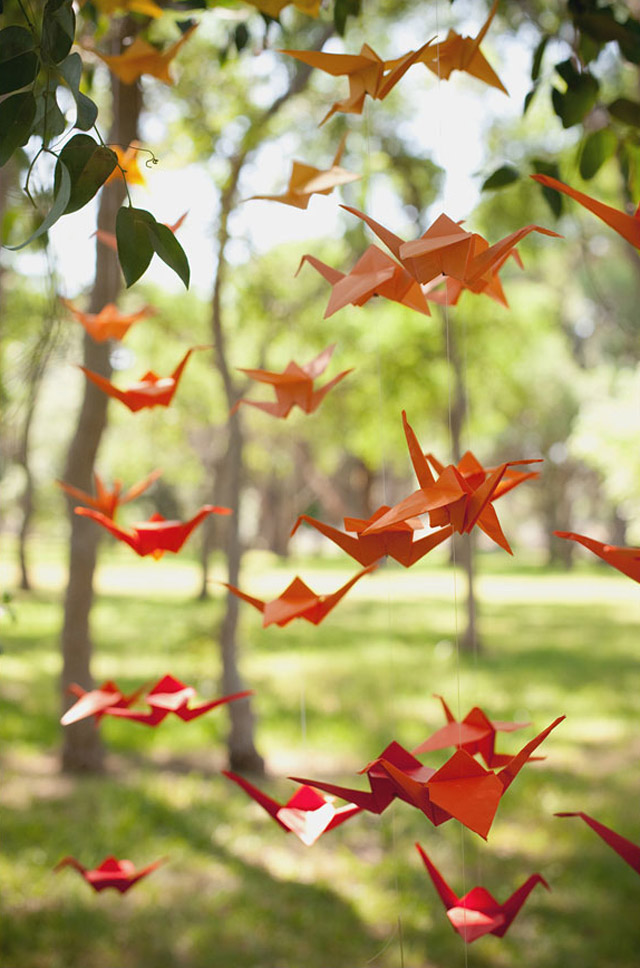
So now that you will be celebrating something this weekend, here is a quick way to spruce up the decor on your patio. Check out these cute little ombre cranes that float along garland that we came across from the blog Camille Styles. She includes easy diy instructions on how to craft up these little beauties and you don’t need an art major to do so!

You’ll need these few basic supplies to get going, but head on over to her blog for the complete step by step instructions and helpful photo! Supplies:Origami Paper, scissors, needle, clear wire, crimp beads, and a pliers.

(Photo Source: Camille Styles)

Let us know what you’ll be celebrating in the comments below – Happy Weekend!

We Love: Cobalt Blue

Gardening, Outdoor Decor

Does the coming of fall have you feeling blue? Hopefully the relief of the impending cooler weather isn’t that depressing, but if you are feeling blue, then why not use it to decorate?

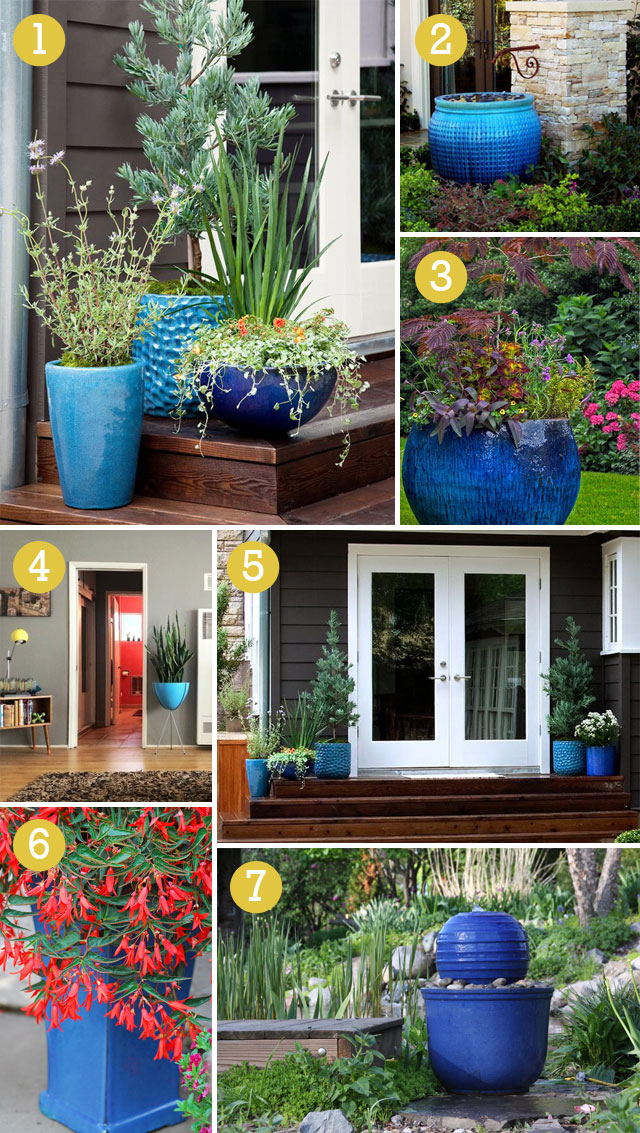
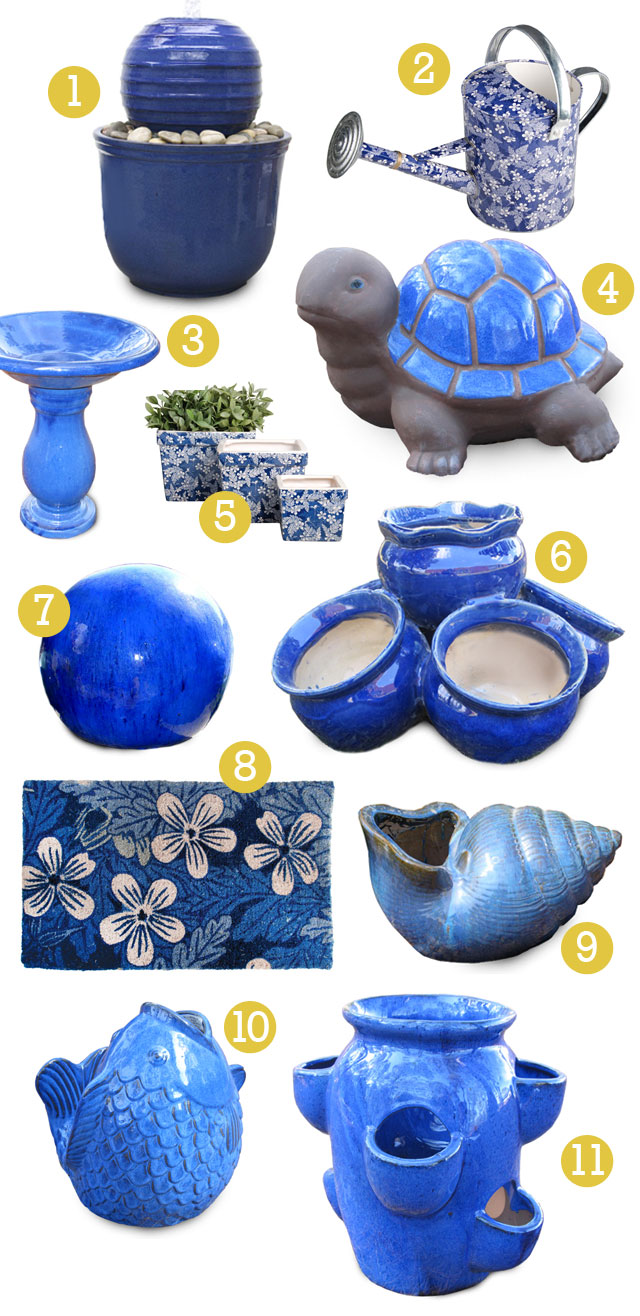
Cobalt blue has been popping up across the backyard and garden scene this summer and we are absolutely in love. This cobalt blue color adds just the right amount of color pop against any home or porch backdrop. To help you understand our love, we found these great examples of cobalt blue in use + included our favorite blue items from Willard & May. This eye-catching hue may just turn into the new black…

COBALT BLUE IN USE: cobalt blue in the backyard

(1. HGTV, 2. Houzz 3. Calypso Gardening 4. Apartment Therapy 5. HGTV 6. Tesselaar 7. Willard & May)

TIPS FOR USING BOLD HUES:

Vary the intensity, texture, and size – Pick a color you like, but add colors that are a bit lighter or darker to create that unique ombre look we’ve been seeing from hair, to clothing, to decor. Try not only adding variation in the color, but also vary the texture and sheen of the pottery or objects. Make use various sizes to create interest. All of these will create a great unified look.

Add contrast with what you plant inside – Cobalt blue itself is a loud color, but don’t be afraid to use bold contrasting blooms inside the planter. In this case, cobalt blue is the new black and everything goes with black! Also, vary the textures and heights within the planter.

Bring it inside – Don’t be afraid to bring plants and their colorful planters indoors! Sometimes you need a pop of color to tie in a room, and that can easily be done with the color of the bloom or decorative planter. Don’t have a green thumb? Don’t worry! Check out your local crafting store for some fake flowers…some of them look extremely real!

Cobalt, Cobalt Everywhere – Don’t limit the use of this fantastic color to your pottery alone! Utilize it also in accessories, walls, shutters, furniture, fountains and much more!

OUR FAVE COBALT BLUE ITEMS:

wm-cobalt-blue-products(1. Garden Fountain 2. Blue Blossom Watering Can 3. Cobalt Blue Ceramic Bird Bath 4. Cobalt Blue Decorative Turtle 5. Blue Blossom Planters 6. Cobalt Blue Cluster Pot 7. Blue Gazing Balls 8. Blue Blossom Door Mat 9. Shell Planter 10. Fish Planter 11. Cobalt Glazed Strawberry Planter)

So if you feel blue… decorate with blue!

Weekend DIY: Planter Wall

Gardening, Outdoor Decor, Weekend DIY

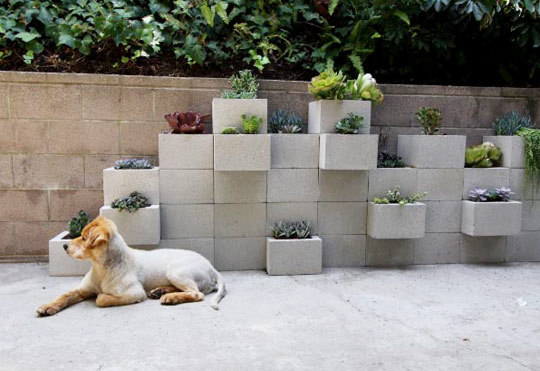
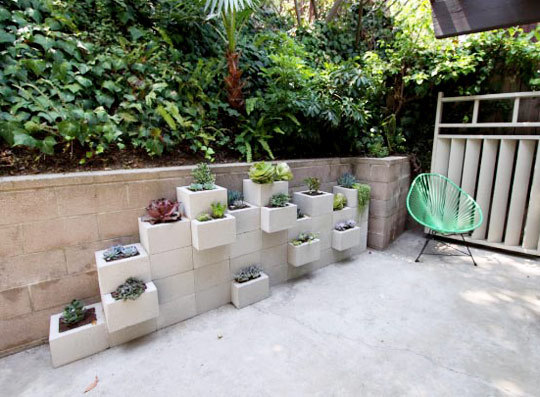
So you have this empty spot along a retaining wall that you just don’t know what to do with anymore. You probably think there is nothing a landscaper, let alone you, could do to make this spot shine in your yard. Well think again! How about an easy-peasy-do-it-yourself project this weekend where you transform it into a giant wall-planter! Now we’re talking…

diy planter fence diy planter fence
(Images: Annette Guttierez)

So those photos probably have got you hooked – now you want to make this project a reality this weekend? Go for it and check out this budget-friendly DIY planter project made of cinderblocks courtesy of Apartment Therapy and Pot-Ted – and prepare for your mind to be blown and your yard transformed!

Have a DIY project you’d like to share? Just let us know in the comment section below! Happy Weekend!

Weekend DIY: Shell Candles

Lighting, Weekend DIY

Light. It’s a beautiful thing, yet it is fading fast now that fall is approaching! Did I really just say that? How sad. Each night the sun sets a tiny bit earlier than the previous day, meaning dark dinners if you planning on dining outdoors. Put don’t head inside just yet! You can add light and a romantic mood in the dark with light either from a fire or candles.

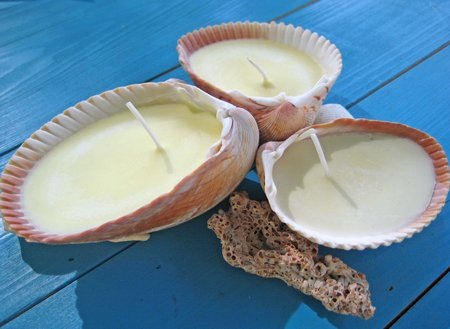
Ever wanted to make your own candles? Well you’ve now got your chance with these simple directions from the Everything Etsy blog. This easy project can be completed in a day, and you’ll need just a few supplies from a craft store. Head on over to her blog to read the entire how-to steps.

There are endless ways to make candles – just take a quick look around your house for some jars or containers! You could also try filling your candles with the citronella scent which works wonders for keeping those pests away while you enjoy your evening outside.

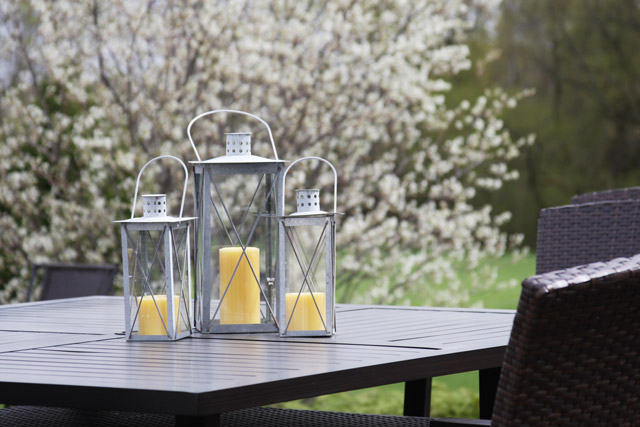
Also, while we are speaking about lighting – Willard & May has great lighting accessories such as lanterns and gazing balls with holes cut out. Go on and check them out – they don’t bite, we promise!

metal-outdoor-lanterns